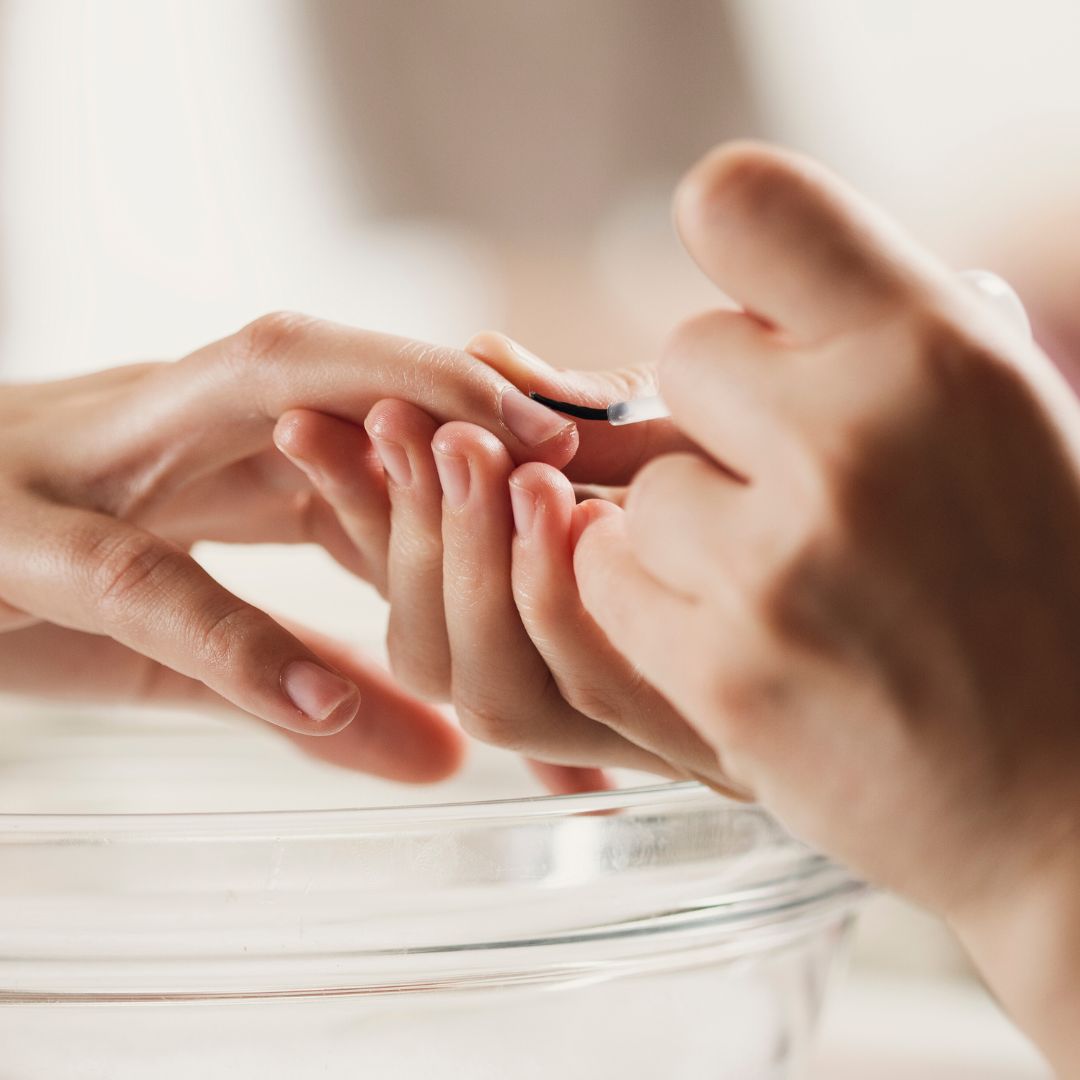
Yes, you can fix a broken acrylic nail without replacing the entire enhancement. Depending on the severity of the break, repair using nail glue, a tea bag or silk wrap, or builder gel to restore strength and appearance. Understanding repair techniques saves clients time and money while maintaining the integrity of their manicure.
Broken acrylic nails are one of the most common issues clients face, and knowing how to address them—whether as a technician or through client education—demonstrates expertise and builds trust. At UK Beauty School, we teach repair techniques as part of comprehensive nail training because they’re essential real-world skills.
The right repair method depends on the break’s location, severity, and whether the natural nail underneath is affected. Assessing the damage before attempting repair prevents making the situation worse.
Common Causes of Breakage
Understanding why breaks occur helps prevent future incidents:
Excessive force or trauma: Impact injuries from catching nails on objects, crushing injuries, or accidents during daily activities cause most breaks.
Incorrect application creating weak points: Improper apex placement, inconsistent product thickness, or poor adhesion creates structural weaknesses that eventually fail under normal stress.
Water exposure causing lifting: When water penetrates beneath the acrylic, it weakens the bond and creates stress points where breaks commonly occur. Lifted edges that aren’t addressed promptly often lead to breakage.
Using nails as tools: Opening cans, scratching labels, prying objects apart—these activities put extreme stress on enhancements and frequently cause breaks.
Product quality issues: Budget acrylic products may not provide the strength needed for daily wear, particularly for longer extensions.
Growth and maintenance timing: As natural nails grow, the stress point shifts. Delaying fills too long moves the apex away from its optimal position, increasing breakage risk.
Assessing the Damage
Before attempting repair, evaluate the break:
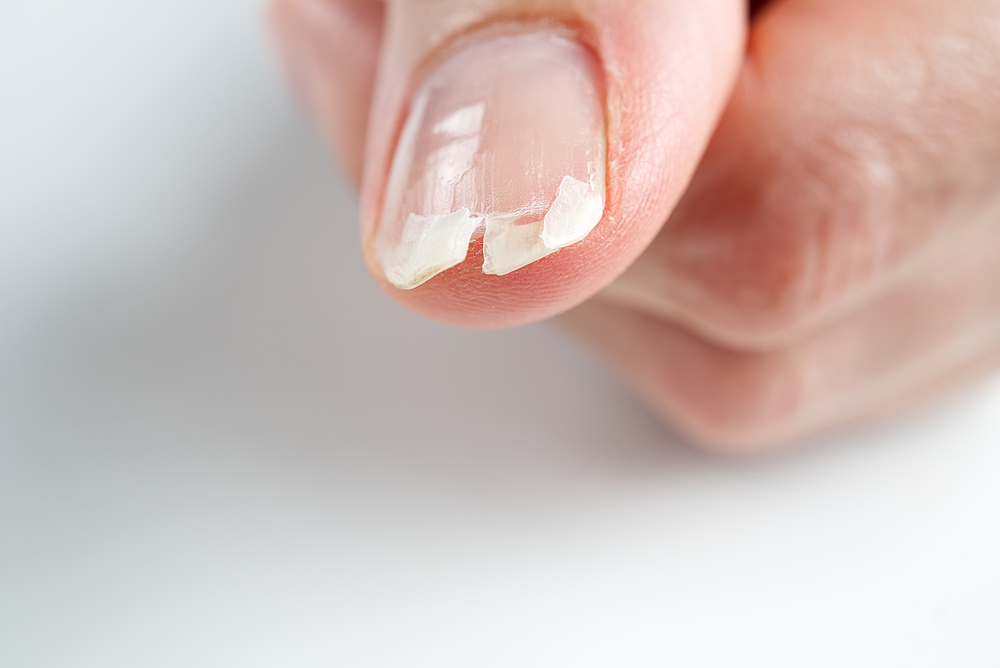
Surface crack only: A crack that doesn’t go through the full thickness of the acrylic is the easiest to repair. The nail is still structurally sound and just needs reinforcement.
Full break through acrylic: The acrylic has broken completely, but the natural nail underneath is intact. This requires more substantial repair but is still manageable.
Break affecting natural nail: If the natural nail is cracked, torn, or bleeding, professional assessment may be needed. Never attempt repair over injured natural nails.
Location of break: Breaks at the stress point (where natural nail meets extension) are more challenging than tip breaks. Side wall cracks require careful attention to prevent spreading.
Repair Method 1: Nail Glue and Tea Bag
Best for small cracks and minor breaks where the pieces are still together or closely aligned. This traditional method remains effective and uses readily available materials.
What You’ll Need
Rubbing alcohol or nail cleanser for sanitisation. Quality nail glue (not superglue—nail-specific formulas are safer and bond better). Tea bag paper or coffee filter (the fibrous material provides reinforcement). Nail file (180 grit) and buffer. Top coat or clear gel polish for finishing.
Step-by-Step Process
Step 1: Sanitise the nail thoroughly with rubbing alcohol, ensuring no oils or debris remain in the crack. Clean breaks bond better than contaminated ones.
Step 2: Apply a thin layer of nail glue into and over the crack, pressing the pieces together firmly for 30 seconds. Hold steady to ensure proper alignment.
Step 3: Cut a piece of tea bag paper slightly larger than the cracked area. The fibres in tea bags create a mesh that reinforces the repair.
Step 4: Apply another thin layer of glue over the crack area, then immediately press the tea bag paper into the wet glue. Smooth out any wrinkles or bubbles.
Step 5: Apply an additional layer of glue over the fabric, ensuring complete saturation. Allow to dry completely—typically 2-3 minutes.
Step 6: Once dry, gently buff the repair smooth using a fine-grit buffer. Remove any rough edges or visible fabric texture.
Step 7: Apply top coat or cure clear gel polish over the repair to seal and add shine.
This repair typically lasts 1-2 weeks, allowing time to schedule a professional appointment if desired.
Repair Method 2: Nail Glue and Acrylic Powder
For more significant cracks or when a stronger repair is needed, adding acrylic powder to nail glue creates a more durable fix. This method essentially creates a small acrylic patch over the damaged area.
Step-by-Step Process
Step 1: Clean the damaged area thoroughly and lightly buff around the break to create texture for adhesion.
Step 2: Apply nail glue directly into and around the crack, covering the entire damaged area.
Step 3: While the glue is still wet, sprinkle acrylic powder over the area. The powder absorbs into the glue, creating a hardened patch.
Step 4: Repeat the glue and powder layers up to 3 times, building thickness gradually. Allow each layer to dry before adding the next.
Step 5: Once the final layer is completely hardened (typically 5 minutes), file and shape the repair to blend with the surrounding nail.
Step 6: Buff smooth and apply top coat for a seamless finish.
This method creates a stronger repair than tea bag alone and can extend wear by 2-3 weeks or until the next scheduled fill appointment.
Repair Method 3: Builder Gel
For splits, partial detachment, or when professional-level repair is needed, builder gel provides the strongest and most durable fix. This method is taught in our Certificate in Nail Tech course and is the professional standard.
Step-by-Step Process
Step 1: Assess the damage and trim any completely broken sections. If pieces are hanging, remove them carefully to create clean edges.
Step 2: Clean the entire nail and lightly buff the acrylic surface around the damaged area. This creates texture for the builder gel to adhere to.
Step 3: Apply a thin layer of builder gel over the damaged area, extending slightly onto the surrounding acrylic. Cure under UV or LED lamp according to product instructions.
Step 4: Apply a second, slightly thicker layer of builder gel, building up to replace lost structure. If rebuilding significant length, use a nail form underneath for support. Cure thoroughly.
Step 5: If needed, apply a third layer to achieve the desired thickness and shape. Each layer should be fully cured before adding the next.
Step 6: Once fully cured, file and shape the repair to match the original nail contour. Blend the edges seamlessly into the existing acrylic.
Step 7: Buff smooth and finish with gel polish or top coat as desired.
Builder gel repairs are the most durable option and can last until the next scheduled fill or indefinitely with proper care.
When to See a Professional
While many breaks can be repaired at home or between appointments, some situations require professional attention:
Signs of infection: Redness, swelling, warmth, pus, or pain around the nail bed requires medical attention. Never cover or repair over potential infections.
Deep cracks affecting the natural nail: If the break extends into or through the natural nail, professional assessment ensures proper healing and prevents further damage.
Pain or bleeding: Any injury causing ongoing pain or bleeding needs professional evaluation before cosmetic repair.
Repeated breaks in the same area: Recurring breakage indicates structural issues that require professional assessment and correction—the application technique may need adjustment.
Significant natural nail damage: If the natural nail is visibly damaged, thin, or separated from the nail bed, seek professional guidance before any enhancement application.
Trained technicians from our Certificate in Nail Tech programme use refined techniques to repair damage safely while protecting natural nail health.
Prevention Is Better Than Repair
Educating clients on prevention reduces breakage frequency:
Maintain regular fill appointments: Staying on schedule keeps the nail structure optimal and prevents stress points from developing.
Avoid using nails as tools: This bears repeating—nails are not meant for opening, prying, or scraping.
Wear gloves for cleaning and gardening: Protecting nails from chemicals and impact prevents most breakage.
Report lifting promptly: Early attention to lifting prevents the progression to breaks.
Consider length and lifestyle: Clients with active lifestyles may need shorter, stronger nails than those with desk jobs.
Building Professional Repair Skills
Mastering repair techniques demonstrates expertise that clients value. The ability to quickly fix a broken nail saves the client time and hassle while generating additional revenue between full appointments.
Our Certificate in Manicures & Pedicures provides foundational nail care knowledge, while our Nail Art & Design Course adds creative skills for covering and enhancing repaired nails.
Want to master every nail situation, from beautiful sets to expert repairs? Our Certificate in Nail Tech provides comprehensive training in application, maintenance, and repair techniques that make you invaluable to clients. With practical skills, professional products, and expert support, you’ll handle any nail challenge with confidence. Enrol today and become the complete nail professional clients trust.