A breathtaking tattoo begins long before the needle touches the skin. It starts with an idea, a vision, and most importantly, a solid design. For a beginner artist, learning how to translate a concept into a technically sound and beautiful tattoo design is one of the most crucial skills you can develop. A drawing that looks great on an iPad might not work on living, breathing skin.
At the UJK Beauty School, we teach our students that great artistry is a blend of creativity and technical knowledge. Here’s our guide to designing tattoos that your clients will love for a lifetime.
Step 1: The Consultation – More Than Just Drawing
Your first job isn’t as an artist; it’s as a listener. A successful design captures the client’s vision.
- Ask the Right Questions: Go beyond “What do you want?” Ask about the meaning, the desired mood, and what elements they love about their reference photos.
- Manage Expectations: Be honest about what will work. If a client wants a hyper-detailed, passport-sized portrait, you need to explain the technical limitations and suggest alternatives that will age better.
- Gather Your References: Collect all the images and ideas you need before you start drawing. This ensures you’re both on the same page.
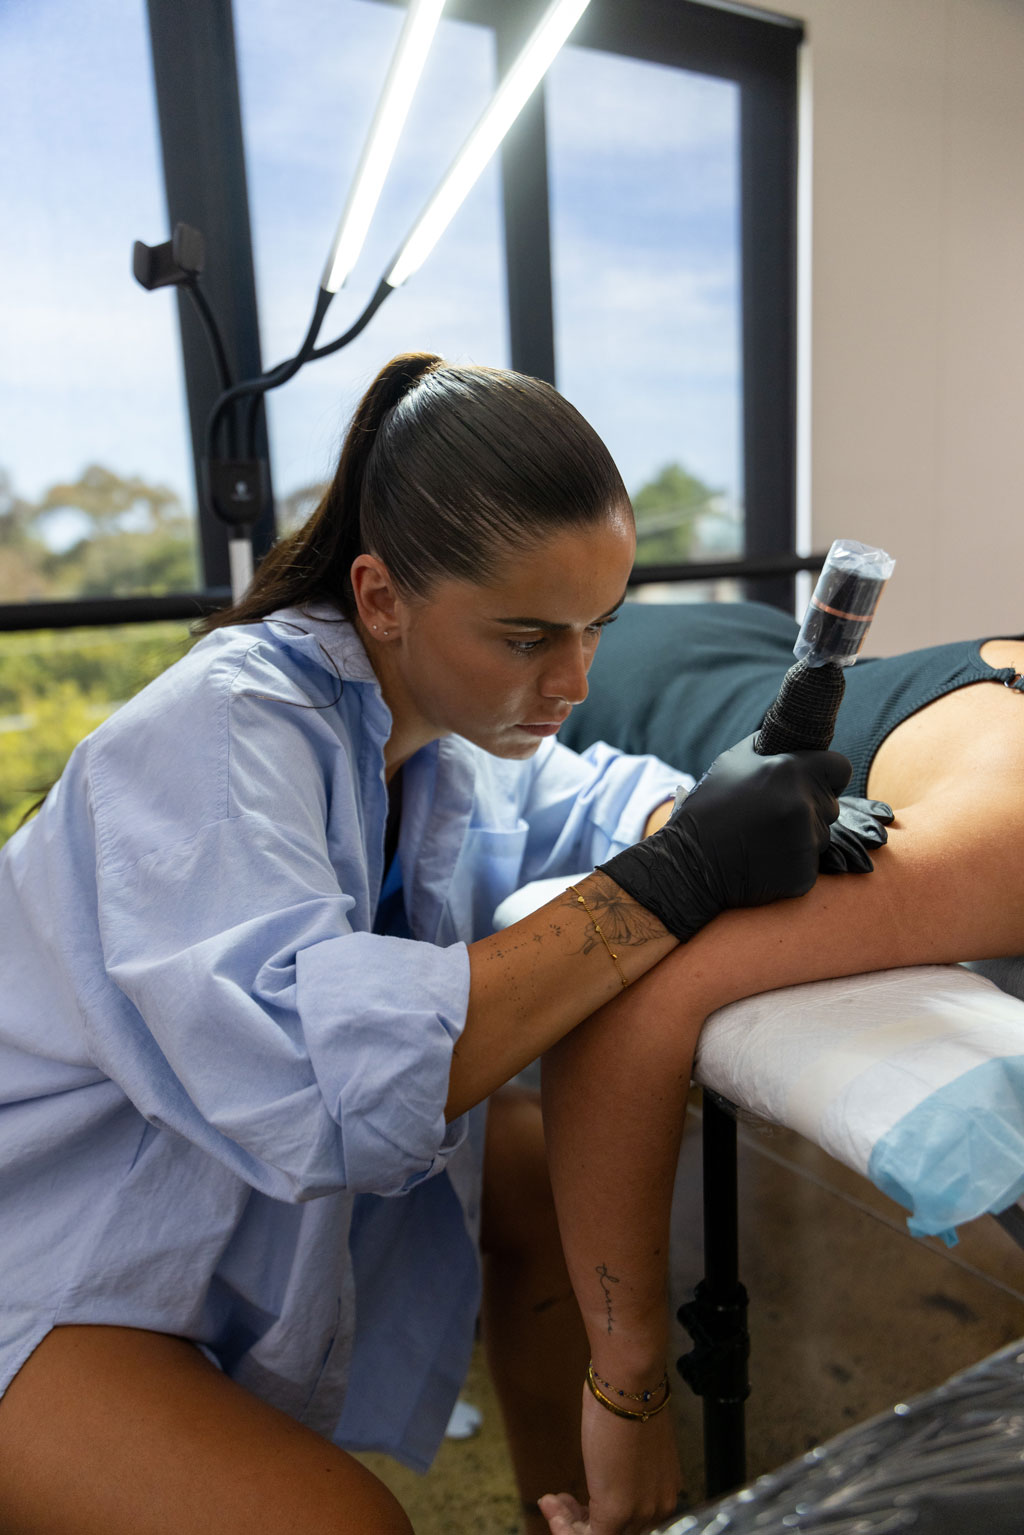
Step 2: Placement and Flow – Designing for the Body
Skin is not a flat canvas. A design must be created for the specific body part it will live on, flowing with the natural muscle structure and curves.
- Think in 3D: A design on a bicep will wrap and move differently than one on a flat area like the thigh. Take a photo of the body part and sketch your design directly onto it to visualize the flow.
- Consider Movement and Stretching: How will the design look when the client bends their elbow or flexes a muscle? Good design anticipates this movement.
- Size Matters: A design for a small wrist tattoo needs to be simpler than a full back piece. Ensure the size is appropriate for the level of detail.
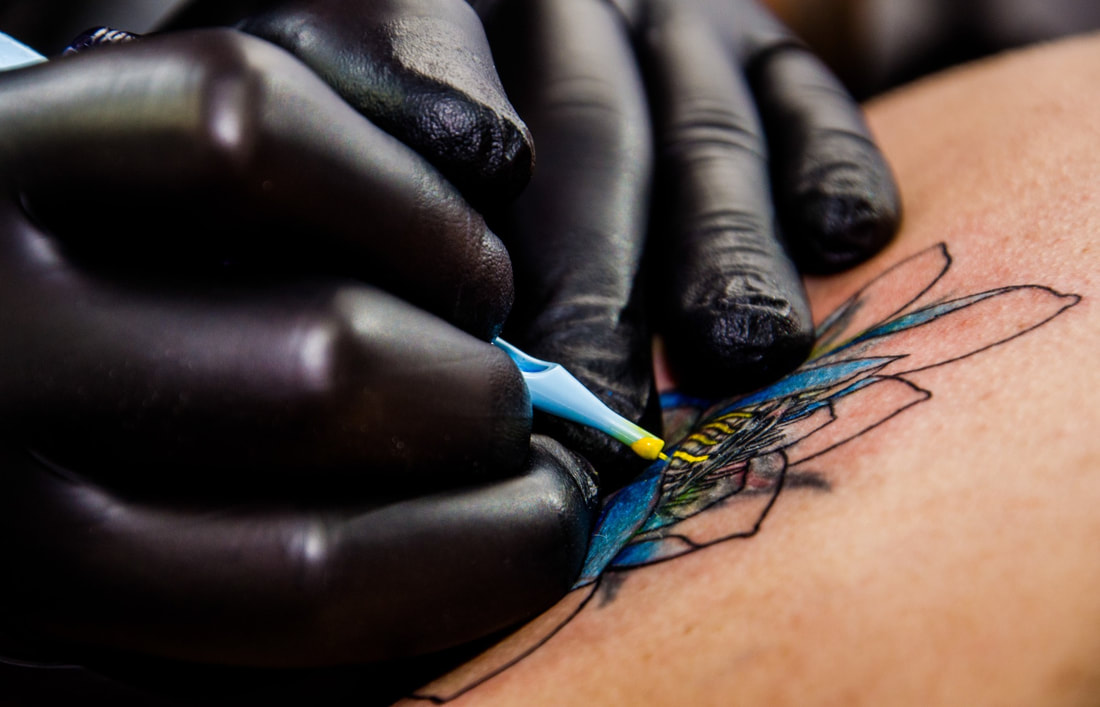
Step 3: “Bold Will Hold” – Designing for Longevity
This is the golden rule of tattooing. Over years, skin changes, and ink settles. A design must be built to last.
- Strong Outlines are Key: Solid linework acts as a container, keeping your tattoo defined and legible as it ages.
- Use Contrast: A good tattoo has a balance of light and dark. Using solid black shading creates depth and contrast that will stand the test of time, preventing the design from looking like a faded, grey blob in a decade.
- Leave Breathing Room: Lines and details placed too close together will blur into one another over time. Ensure there is enough negative space (open skin) in your design.
Step 4: From Sketch to Stencil – Creating Your Blueprint
Once your concept is approved, it’s time to create the final line drawing for your stencil. This is your roadmap.
- Digital is the Standard: Most professional artists in UK and worldwide use tablets (like an iPad with Procreate) to create their designs. This allows for easy editing, layering, and perfecting of the final line drawing.
- Create Clean, Confident Lines: Your final drawing should consist of nothing but the lines you intend to tattoo. No shading, no sketching—just a clean blueprint. This ensures your stencil is clear and easy to follow.
Ready to Turn Your Art into a Career?
Designing a successful tattoo is a skill that blends artistic talent with a deep understanding of the medium. It’s about creating something that is not only beautiful today but will remain a powerful piece of art for years to come.
Our tattoo courses at the UK Beauty School are built to develop you as a complete artist. We provide in-depth training on design principles, digital drawing techniques, and how to create tattoos that are technically sound and artistically brilliant.
Enrol today and start designing for a successful future. Check out our Online Tattoo Courses here