Proper nail preparation is the single most important factor determining whether your nail enhancements last two days or two weeks. Whilst glamorous nail art and trendy designs attract clients to your salon, it’s meticulous nail prep that keeps them coming back. Whether you’re working with gel polish, acrylic extensions, or dip powder systems, the fundamental preparation techniques remain largely consistent—and absolutely critical for professional results. This comprehensive guide will walk you through every step of proper nail preparation, helping you build the foundation for beautiful, long-lasting nail enhancements that showcase your technical expertise.
Understanding Why Nail Prep Matters
Nail preparation creates the optimal surface for product adhesion whilst maintaining the health and integrity of the natural nail. According to dermatological research on nail health, proper preparation removes barriers to adhesion without causing unnecessary damage that could lead to long-term nail problems.
When nail prep is rushed or done incorrectly, you’ll experience:
- Premature lifting, usually starting at the cuticle area or free edge
- Reduced wear time, forcing clients to return for repairs more frequently
- Increased risk of moisture getting trapped under enhancements, potentially leading to bacterial or fungal infections
- Client dissatisfaction and loss of repeat bookings
- Damage to your professional reputation
Conversely, properly prepared nails create a clean, slightly textured surface that allows products to bond effectively, resulting in enhancements that look beautiful throughout their entire wear period. Professional nail technicians understand that the 10-15 minutes invested in thorough preparation saves hours of frustration from fixing premature failures.
Complete Nail Prep Routine: Step-by-Step with Timing
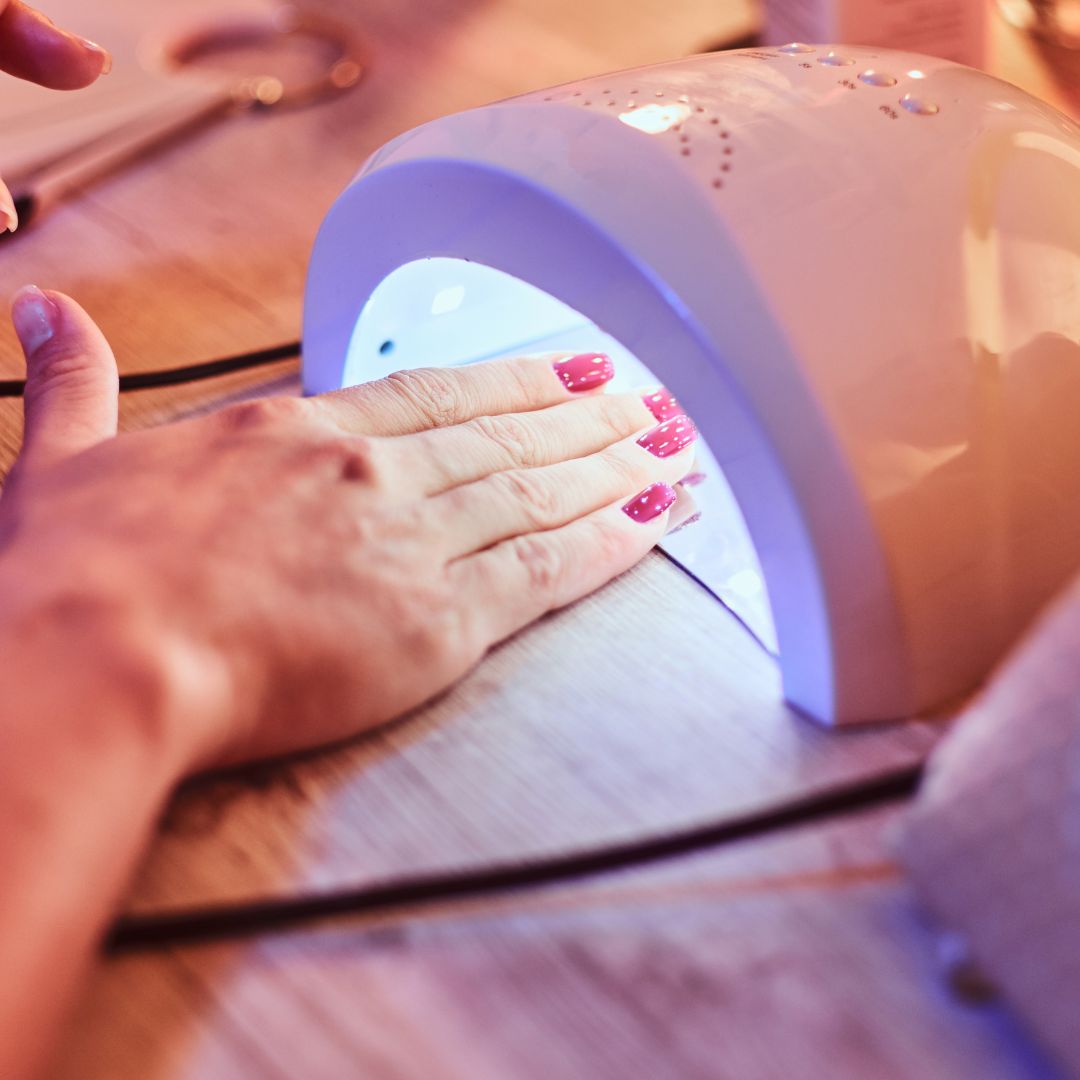
Professional nail preparation follows a systematic sequence. For a full set of gel polish on natural nails, expect to spend approximately 10-15 minutes on preparation. For more complex services like acrylic extensions, preparation may take 15-20 minutes. Never rush this process—quality preparation is time well invested.
Step 1: Initial Assessment and Sanitation (2 minutes)
Begin by assessing the natural nails for any concerns: damage, infections, unusual discolouration, or structural problems. According to NHS guidelines on nail health, certain conditions require referral to a healthcare provider rather than cosmetic treatment.
Sanitise your hands and the client’s hands thoroughly using an appropriate hand sanitiser. This reduces bacterial load and creates a hygienic working environment—essential for both safety and proper product adhesion.
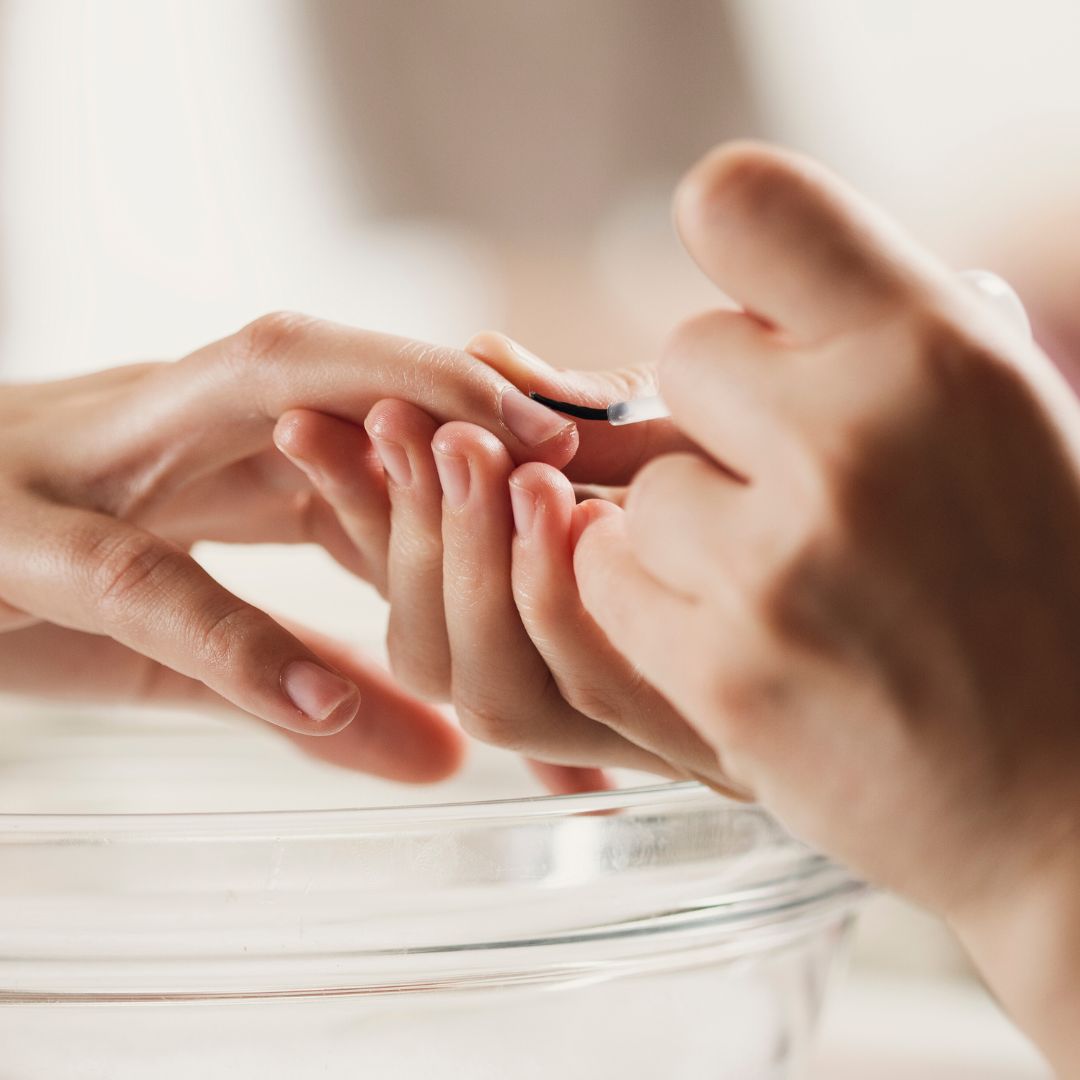
Step 2: Polish or Enhancement Removal (5-10 minutes if applicable)
If the client has existing enhancements, remove them completely and gently. Use appropriate removal techniques:
- Gel polish: Soak in acetone-soaked cotton pads wrapped in foil for 10-15 minutes, then gently push off softened product
- Acrylic: File down bulk, then soak in acetone until product lifts easily
- Dip powder: Similar to gel, using acetone soaks
Never force or peel off product, as this removes layers of the natural nail and causes significant damage that affects future services.
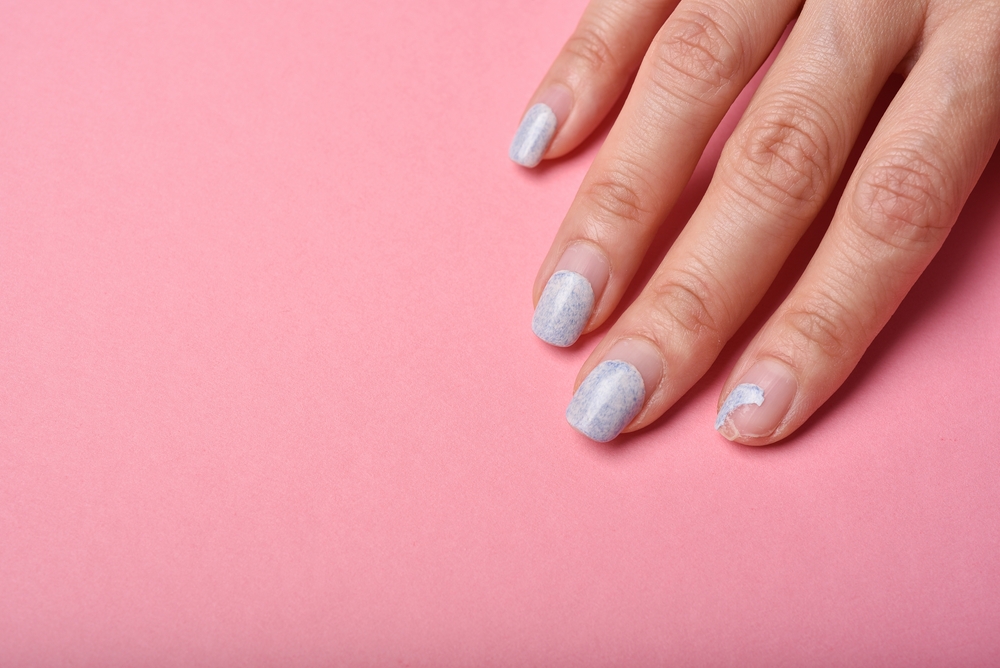
Step 3: Shape and Length (2-3 minutes)
File the natural nails to the desired length and shape using a medium-grit file (180-240 grit). File in one direction rather than using a sawing motion, which can cause splitting and damage to the nail plate.
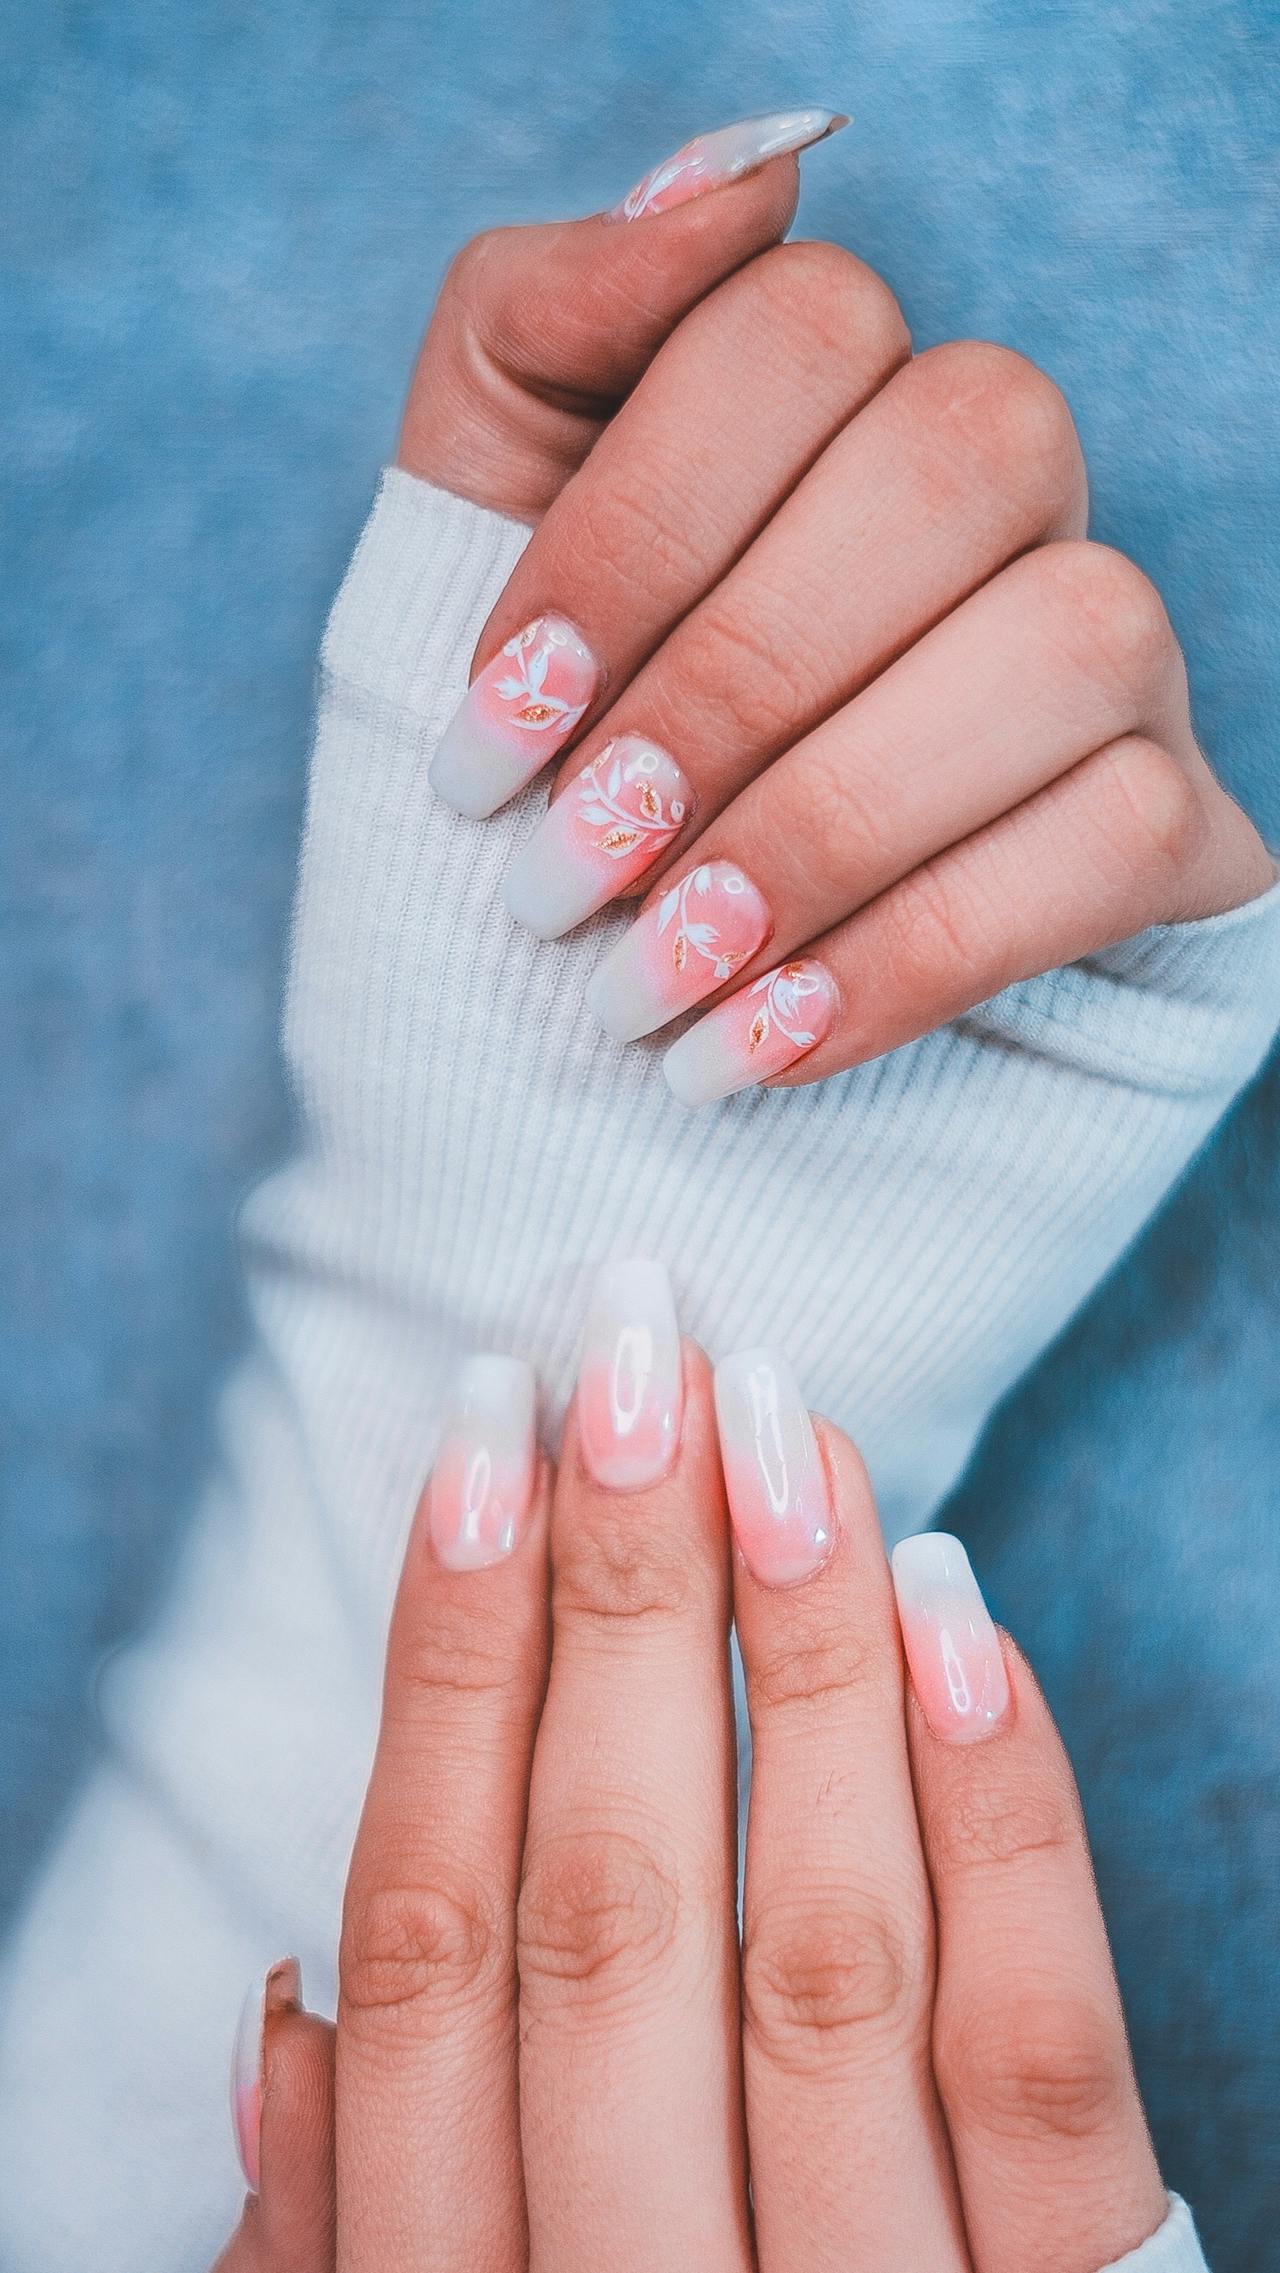
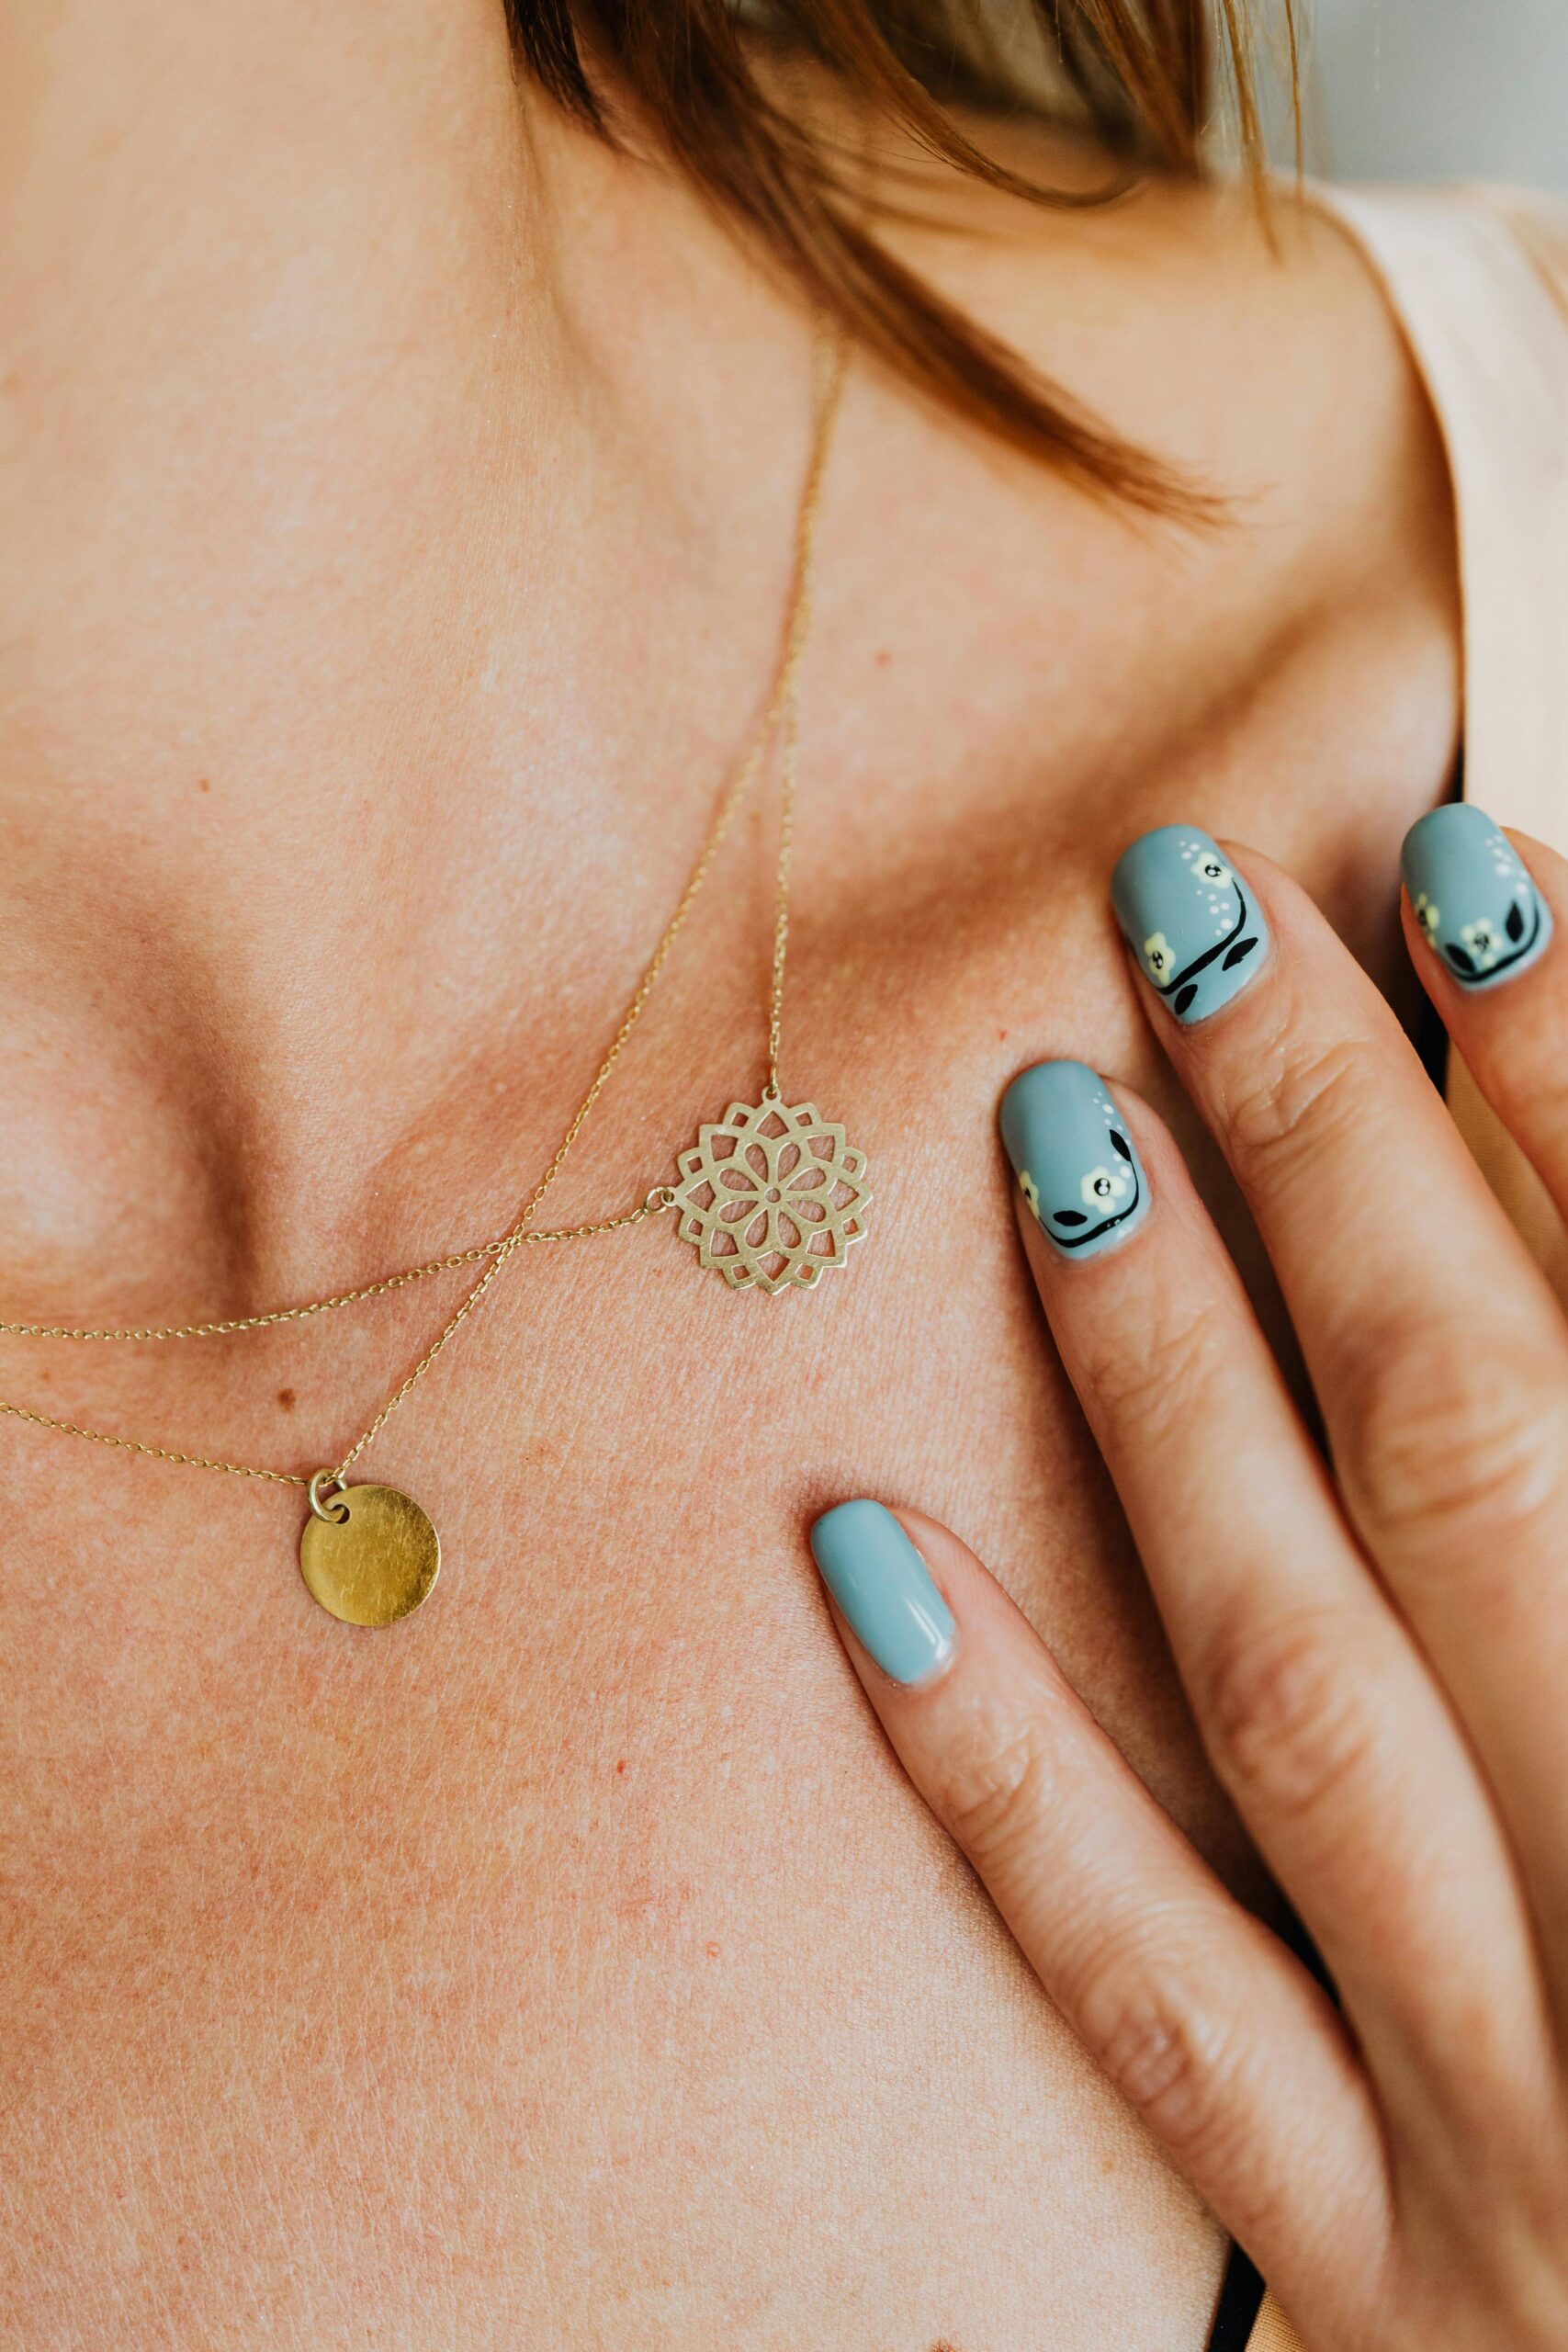
Common shapes include square, squoval, round, oval, and almond. Consider the client’s lifestyle and natural nail shape when recommending a shape—very active clients benefit from shorter, rounded shapes that are less prone to breakage.
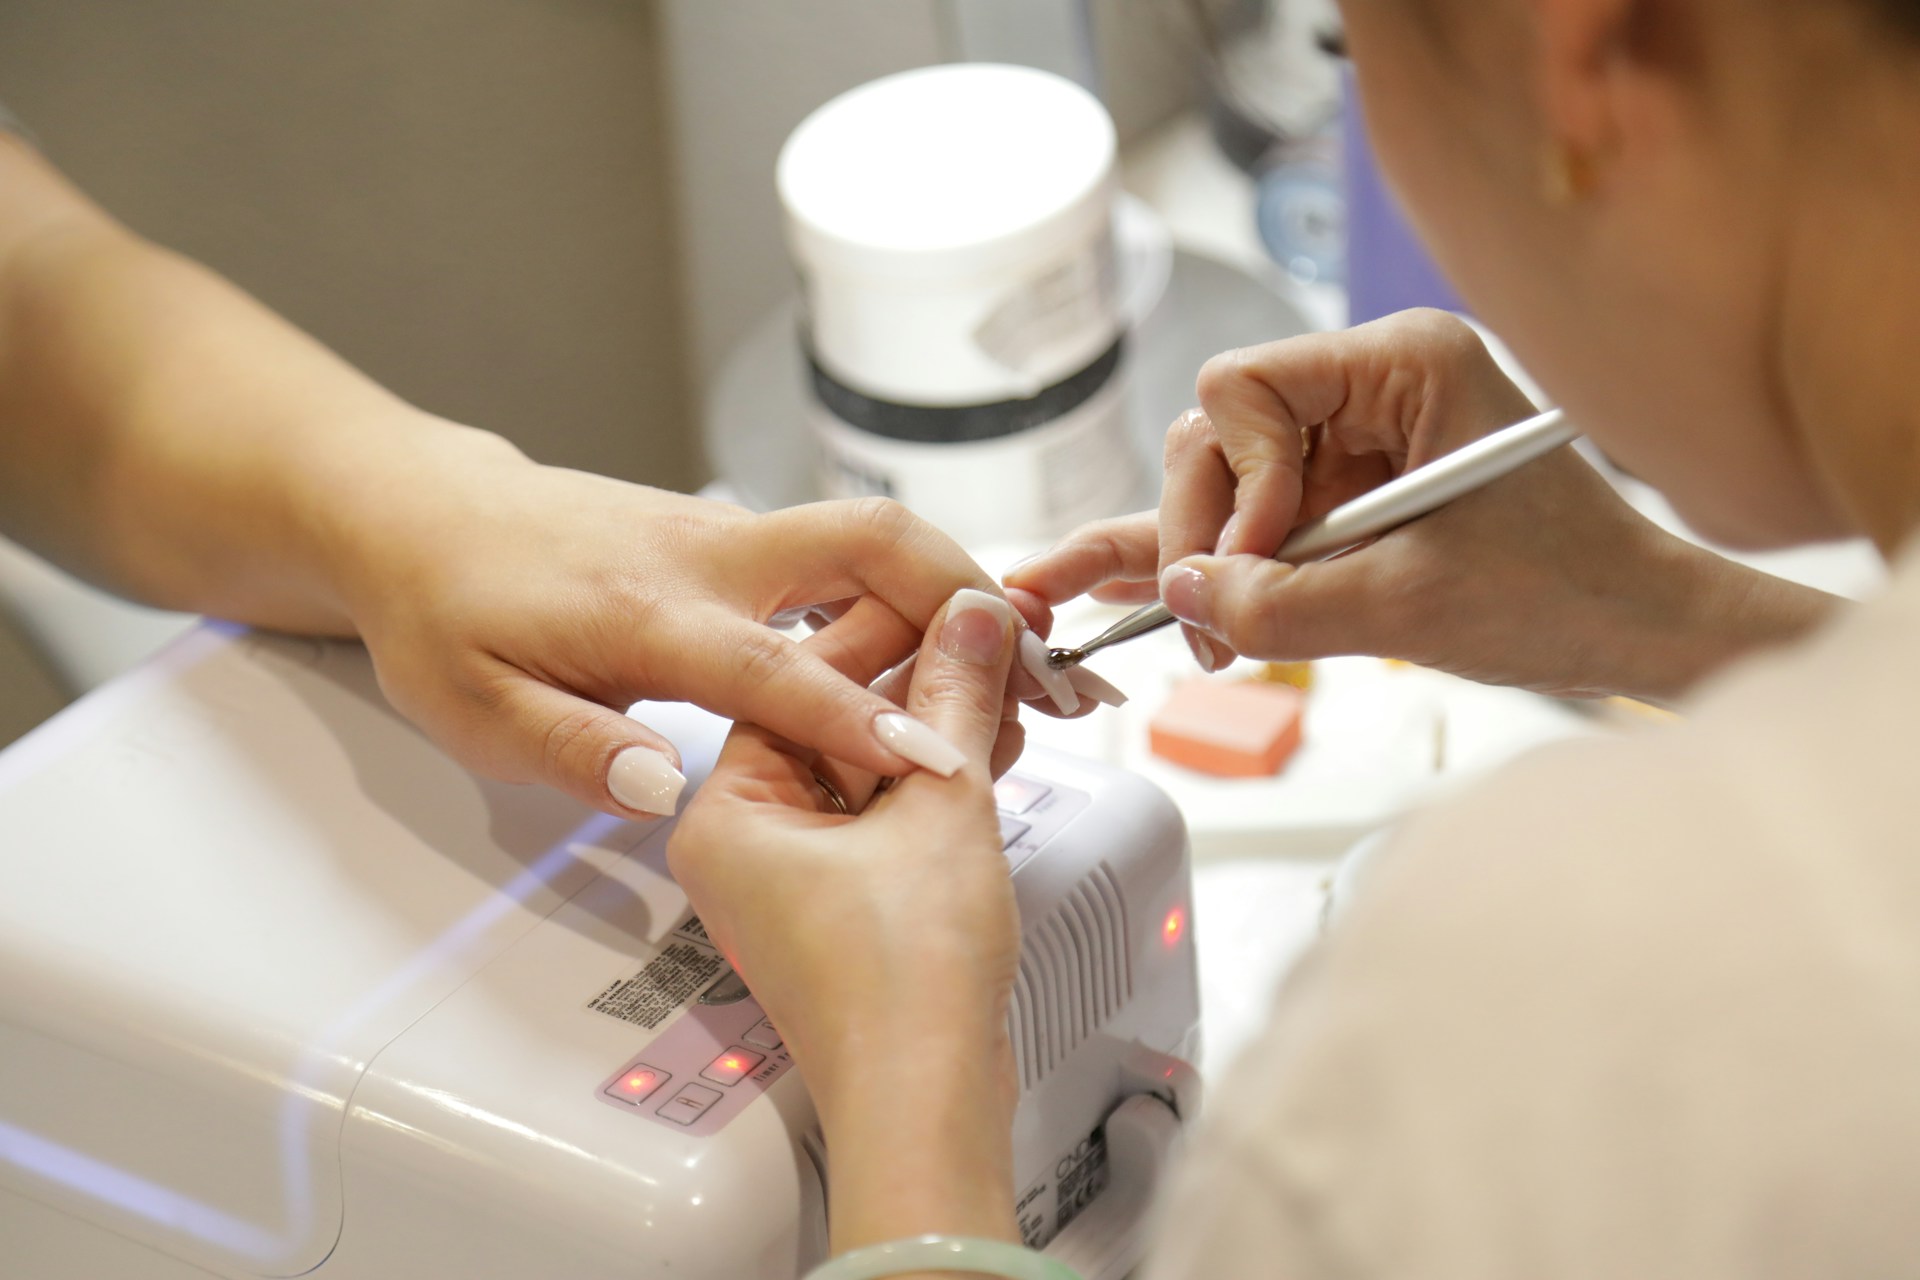
Step 4: Cuticle Work (5-7 minutes)
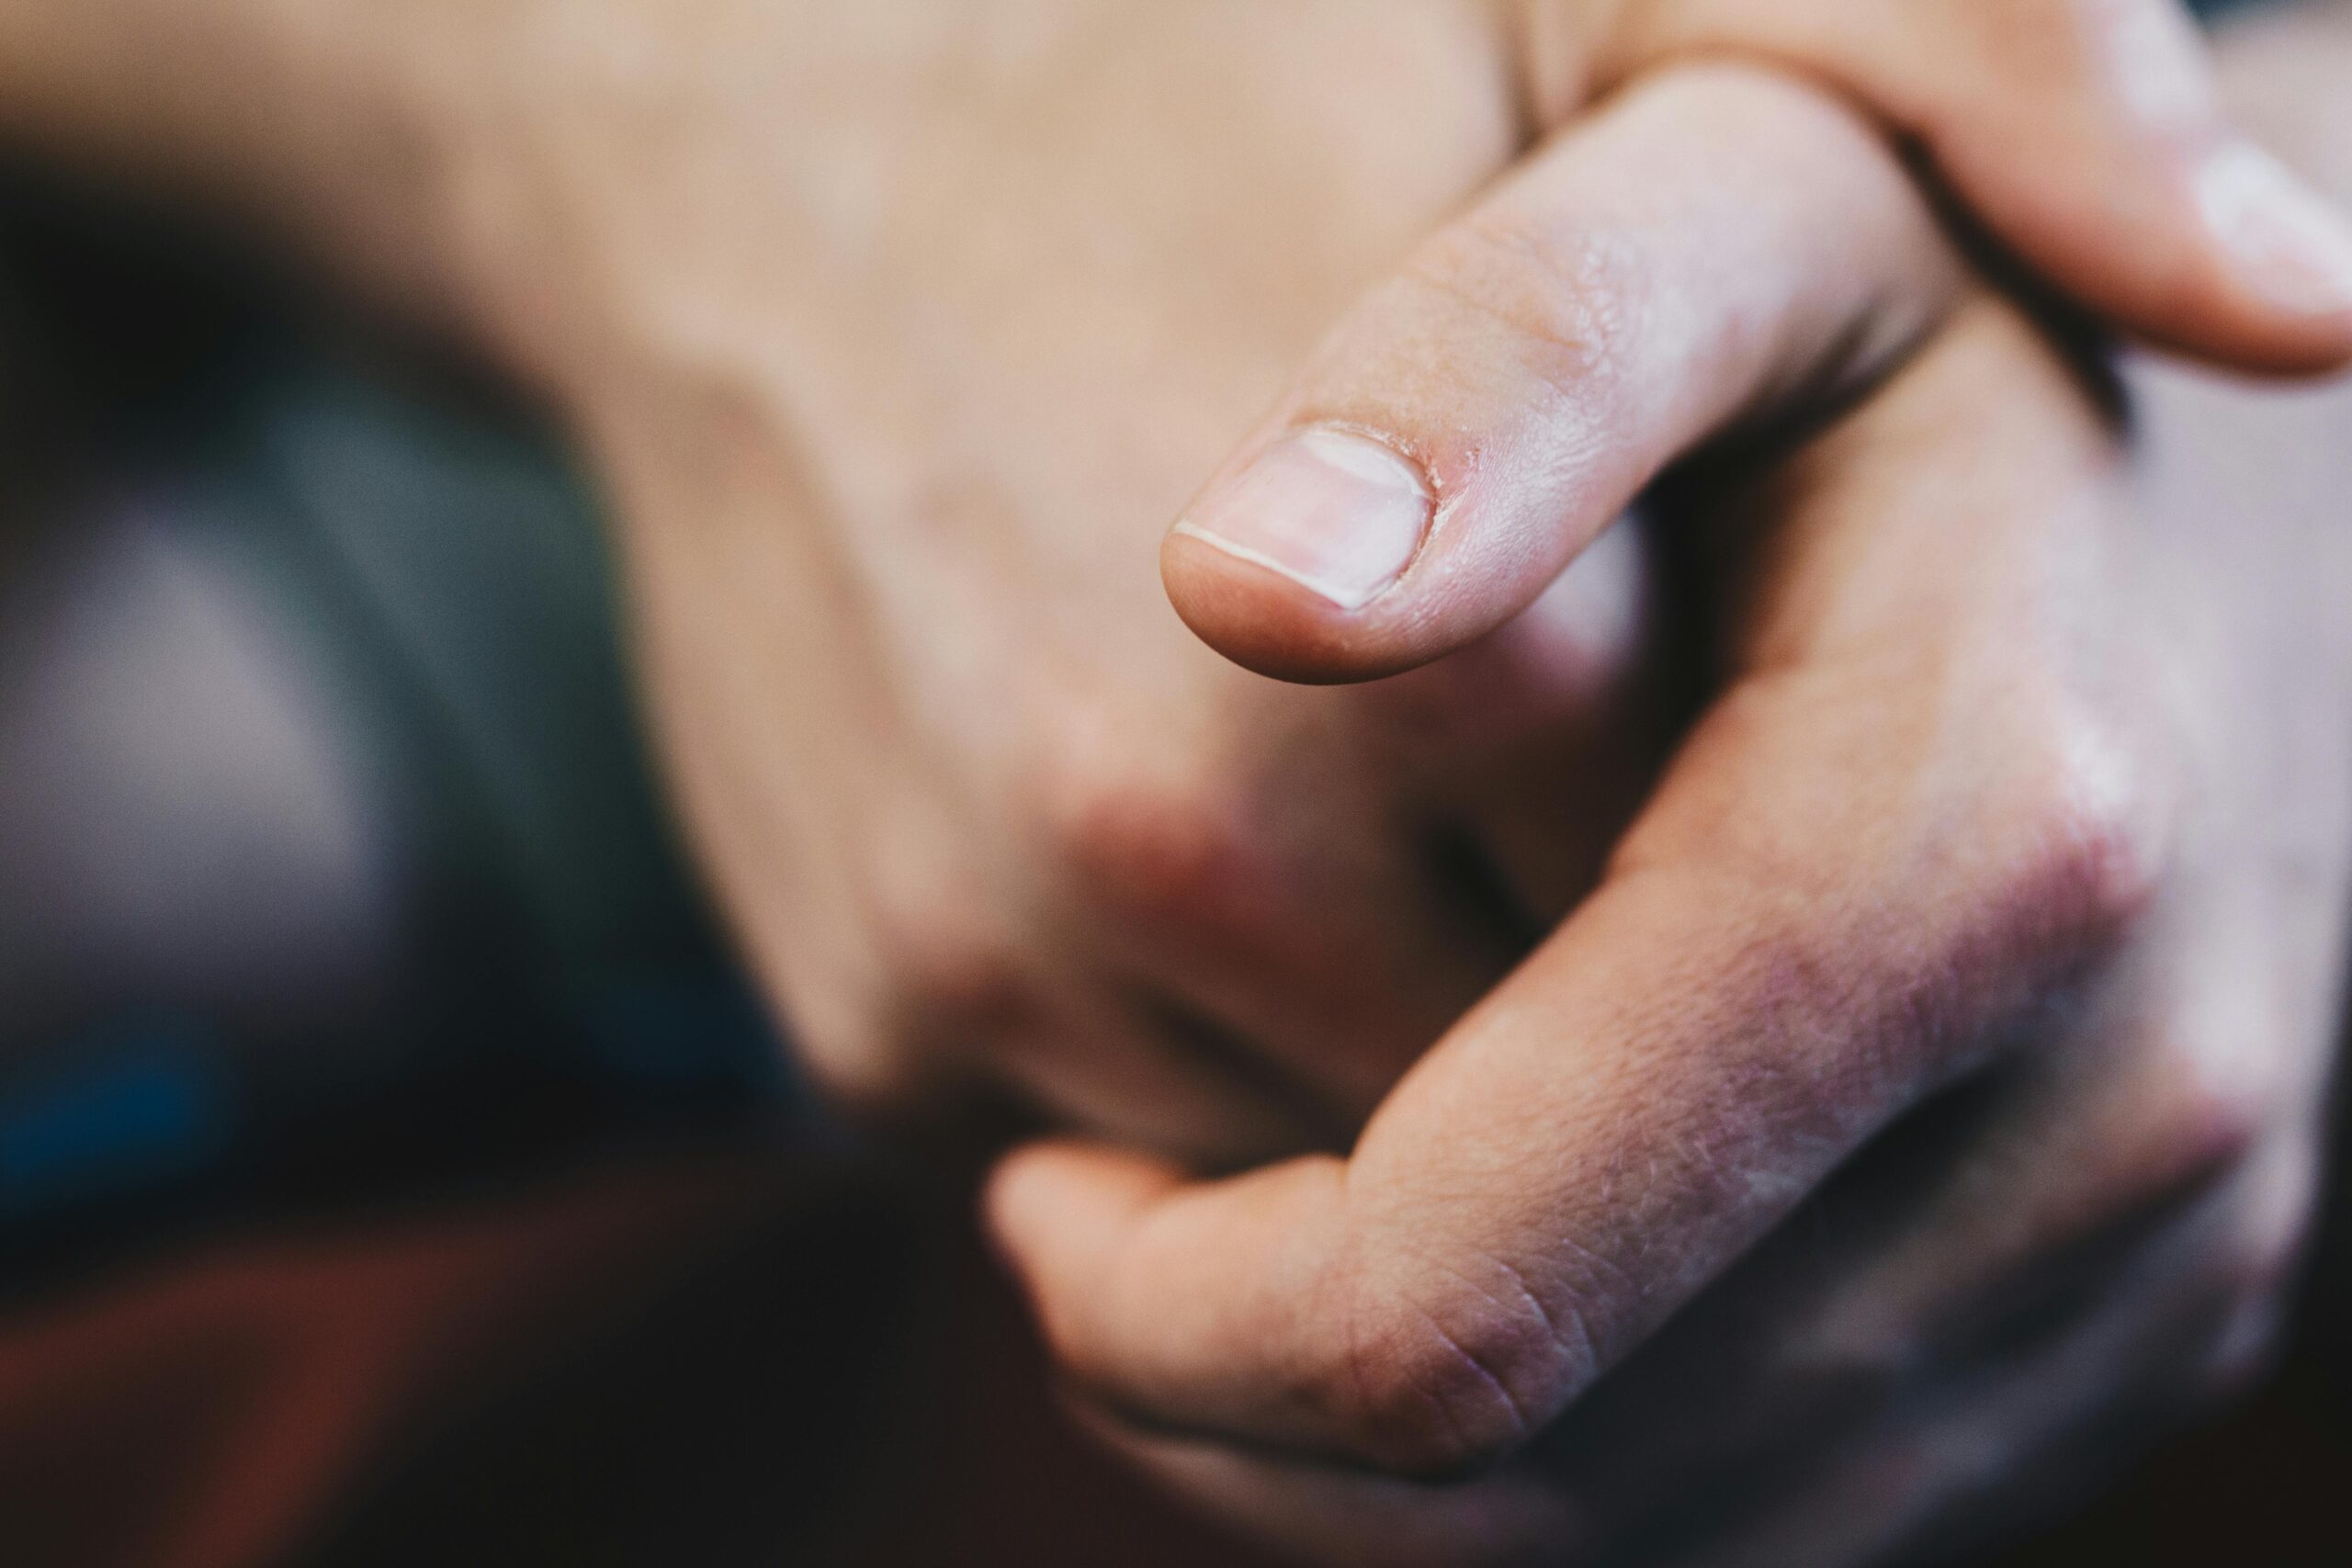
This step requires the most care and precision, as improper cuticle work can cause discomfort, bleeding, and infection risks whilst also compromising product adhesion.
Apply cuticle remover or softener to each nail, allowing it to work for 30-60 seconds. This chemical softening makes physical cuticle work easier and less traumatic to the nail and surrounding skin.
Using a cuticle pusher, gently push back the cuticle and remove any dead skin (pterygium) adhering to the nail plate. Work with gentle pressure—you should feel no pain, and neither should your client. According to professional nail care standards, the cuticle should be pushed back to expose the entire nail plate, but living tissue should never be cut or forcibly removed.
For clients with particularly thick or overgrown cuticles, use cuticle nippers to carefully trim only the loose, dead skin. Never cut living cuticle tissue, as this creates open wounds that can become infected and painful.
Clean under the free edge with a wooden stick or cuticle tool, removing any debris that might prevent proper product application at this vulnerable area.
Step 5: Surface Preparation and Buffing (2-3 minutes)
Using a fine buffer (240-280 grit), gently buff the surface of the nail plate. This step is crucial but must be done judiciously—you want to create a slightly textured surface for adhesion without thinning the nail plate excessively.
Buff in a cross-hatch pattern, covering the entire nail plate including right to the side walls and cuticle area. You should see the natural shine of the nail disappear, replaced by a matte, slightly frosted appearance. If you notice any shiny spots remaining, buff these areas carefully—product won’t adhere properly to glossy nail surfaces.
For clients with very thin or damaged nails, use an extra-fine buffer or skip buffing altogether, relying on primer and dehydrator alone for adhesion. Over-buffing thin nails can cause pain, sensitivity, and long-term damage.
Step 6: Dust and Debris Removal (1 minute)
Use a clean, dry nail brush to thoroughly remove all dust and debris from the nail surface, paying particular attention to the cuticle area and side walls where dust tends to accumulate. Follow this with a clean, lint-free wipe to ensure complete dust removal.
This step is non-negotiable—any debris left on the nail will compromise adhesion and can create lifting points.
Step 7: Dehydration (1-2 minutes)
Apply a nail dehydrator (also called nail prep or nail cleanser) to each nail using a lint-free pad or brush. This step removes moisture and oils from the nail plate, creating an optimal surface for product bonding.
Allow the dehydrator to air dry completely—never rush this step by blowing on nails or using a fan, as this can reintroduce moisture. The nail should have a completely dry, chalky appearance.
Some technicians use isopropyl alcohol as a dehydrator, but purpose-formulated nail dehydrators typically perform better and work more quickly.
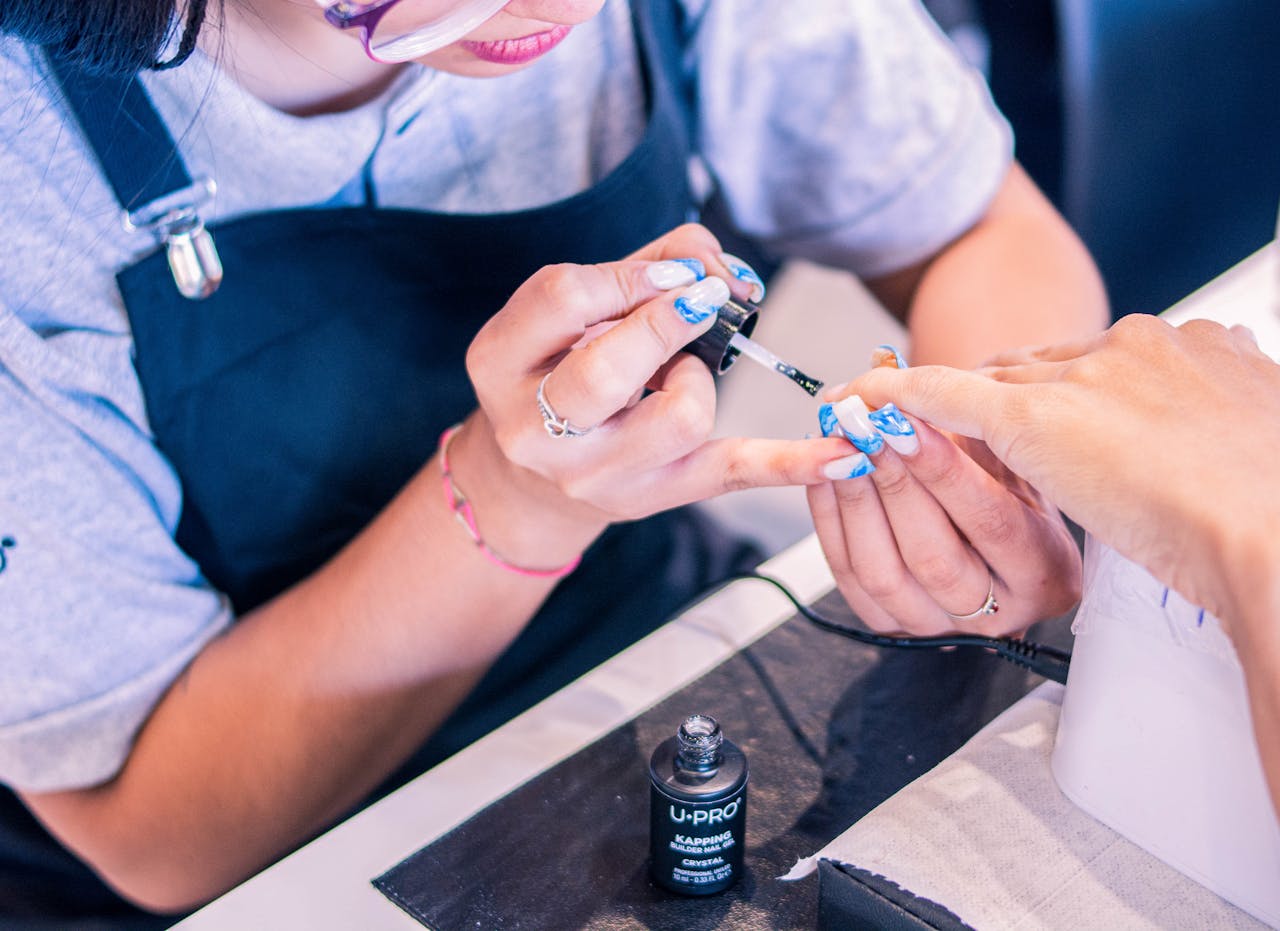
Step 8: pH Balance and Primer Application (1-2 minutes)
This step varies depending on the enhancement system you’re using.
For gel polish: Many modern gel systems work effectively with just dehydration, but adding a pH bonder or acid-free primer can improve adhesion, especially for clients prone to lifting.
For acrylic: Acid-based primers are traditional for acrylic application, creating a strong bond. However, acid-free primers have become increasingly popular, offering good adhesion with less potential for nail damage. According to professional nail product research, modern acid-free primers work well for most clients when proper prep has been completed.
For hard gel and extensions: Acid-free primers or bonding gels are standard.
Apply primer sparingly—a very thin coat is sufficient. Avoid getting primer on skin, as it can cause burning and irritation. Allow the primer to dry completely (usually 30-60 seconds) before proceeding with product application.
Cuticle Work Techniques for Different Client Nail Types
Not all nails are created equal, and adapting your cuticle work to individual client needs demonstrates professional expertise.
Clients with dry, thick cuticles benefit from extended cuticle remover dwell time and may need more intensive pushing. Recommend cuticle oil application daily at home to improve cuticle condition over time.
Clients with soft, sensitive cuticles require a gentler approach with minimal cuticle remover and very light pressure when pushing. These clients may need more frequent maintenance appointments to prevent overgrowth without aggressive treatment.
Clients with nail biters or damaged cuticles often have cuticles adhering firmly to the nail plate. Take extra time to gently release this tissue without causing bleeding. Education about proper home care is especially important for these clients.
Clients with minimal cuticle growth need very light work—simply lifting the cuticle slightly with a gentle push is sufficient. Over-working these nails wastes time and risks damage.
If you’re building your nail technology skills, professional nail courses provide hands-on practice with various nail types, helping you develop the nuanced approach that separates exceptional technicians from average ones.
Proper Filing and Shaping Methods
Filing technique significantly affects both the appearance and durability of nail enhancements. Proper filing prevents splitting, peeling, and breakage whilst creating a beautiful shape that complements the client’s hands.
File selection matters: Use appropriate grit levels for each task. Coarse files (80-100 grit) are only for acrylic removal or significant shape changes. Medium files (180-240 grit) work well for general shaping of natural nails. Fine files (240-280 grit) are ideal for buffing and surface preparation.
Always file in one direction rather than using a back-and-forth sawing motion. Sawing creates micro-tears in the nail plate that lead to splitting and peeling. File from the side toward the centre, lifting the file completely before the next stroke.
Hold the file at the correct angle—approximately 45 degrees to the nail edge for shaping the free edge, and flat against the nail plate for surface work. Never file too aggressively at the corners, as this weakens the nail structure.
Support the nail during filing by placing your finger underneath. This prevents excessive pressure that can damage the nail bed or cause discomfort.
For enhancements like acrylics or hard gel, filing technique becomes even more critical. According to professional nail standards, over-filing or incorrect angles can cause structural weakness, heat sensitivity, or visible imperfections in the final result.
Dehydration and pH Balance Procedures
Understanding the science behind dehydration and pH balancing helps you apply these steps more effectively.
The natural nail has a pH of approximately 5-6 and contains moisture. Most nail enhancement products are formulated to bond to a slightly acidic, very dry surface. When nails are too moist or have incorrect pH, products can’t form the tight molecular bond necessary for long wear.
Nail dehydrators typically contain alcohol-based solvents that evaporate quickly, taking moisture with them. Apply dehydrator generously enough to wet the entire nail surface, but not so much that it pools or runs into the skin.
Signs of properly dehydrated nails:
- Matte, chalky appearance
- No shine or reflective qualities
- Slightly lighter colour than the natural nail
- Completely dry to the touch
pH bonders or primers adjust the nail’s pH to match the enhancement product’s optimal bonding pH. These products essentially etch the nail surface microscopically, creating additional surface area for bonding.
Different enhancement systems work optimally at different pH levels:
- Acrylic systems: Typically bond best at very low pH (2-3)
- Gel systems: Usually work well at near-neutral pH (5-6)
- Dip powder systems: Variable, depending on the brand
Common Prep Mistakes Causing Lifting
Lifting is the nail technician’s nemesis—it looks unprofessional, can lead to infection, and causes client dissatisfaction. Most lifting occurs because of preparation errors rather than product problems.
Mistake 1: Insufficient cuticle prep Leaving dead skin or cuticle tissue on the nail plate creates a barrier between the natural nail and enhancement product. Product bonds to this dead tissue rather than the nail, and when the tissue lifts, so does your enhancement.
Solution: Be thorough with cuticle removal, ensuring the entire nail plate is clean and exposed. Use magnification if needed to see clearly.
Mistake 2: Inadequate dehydration Moisture is the enemy of adhesion. Rushing the dehydration step or skipping it entirely almost guarantees premature lifting.
Solution: Apply dehydrator to each nail and allow complete air drying before moving to the next step. Consider using a second application for clients prone to lifting.
Mistake 3: Over-buffing or under-buffing Too much buffing thins the nail and can cause pain, whilst too little buffing leaves a smooth, glossy surface that products can’t grip effectively.
Solution: Buff until the entire nail has a uniform, slightly frosted appearance without any shiny spots. If the nail feels hot during buffing, you’re applying too much pressure or spending too long on one spot.
Mistake 4: Contaminating prepared nails Touching prepared nails with fingers, allowing lotion or oils to contact the nail surface, or applying product before the nail is completely dry all reintroduce moisture and oils that compromise adhesion.
Solution: Work systematically through the prep sequence without breaking to do other tasks. If you must pause, re-cleanse and re-dehydrate before proceeding with product application.
Mistake 5: Skipping primer Whilst some modern systems claim to work without primer, adding this step significantly improves adhesion for most clients, especially those with oily nail beds or a history of lifting.
Solution: Use the appropriate primer for your enhancement system and apply it properly. Don’t skip this step to save time—it’s a false economy that leads to call backs and disappointed clients.
Tools and Products for Professional Prep
Investing in quality preparation tools and products pays dividends in the consistency and longevity of your nail work. Professional-grade supplies outperform budget options significantly.
Essential tools:
- Cuticle pusher (metal or high-quality wooden)
- Cuticle nippers (sharp, well-maintained)
- Various grit files and buffers
- Nail brush for dust removal
- Lint-free wipes or pads
Essential products:
- Cuticle remover or softener
- Nail dehydrator
- pH bonder or primer (appropriate for your system)
- Acetone (for removal)
- Hand sanitiser
Optional but valuable:
- Electric nail file for efficiency (requires training)
- Magnification lamp for detailed work
- Hygrometer to monitor room humidity
Replace files and buffers regularly—worn abrasives don’t work effectively and can actually damage nails. According to beauty industry hygiene standards, non-porous tools should be disinfected between clients, whilst porous items like foam buffers should be single-use.
For technicians building their professional kit, our nail technology courses include guidance on selecting appropriate professional tools and products that balance quality with budget considerations.
Adapting Prep for Gel, Acrylic, and Polish Applications
Whilst the fundamental preparation steps remain consistent across all nail enhancement types, subtle adaptations optimise results for specific systems.
Gel polish preparation:
- Light buffing (sometimes optional with modern gel systems)
- Thorough dehydration
- pH bonder or gel base coat as primer
- Extra attention to the free edge, where gel is most prone to lifting
Acrylic application preparation:
- More aggressive buffing to create good adhesion surface
- Complete dehydration crucial due to acrylic’s moisture sensitivity
- Acid or acid-free primer depending on system and client history
- Particular focus on cuticle area where lifting commonly begins
Traditional polish preparation:
- Very light buffing or just dehydration
- Thorough cuticle work for neat application
- Oil-free nails to prevent early chipping
- Base coat serves as primer
Dip powder preparation:
- Similar to gel—moderate buffing
- Very thorough dehydration due to powder application method
- Clean, dust-free surface crucial for smooth results
- System-specific primers as recommended by manufacturer
Understanding these adaptations allows you to customise your preparation routine to the specific service, improving results whilst avoiding unnecessary steps.
Damaged Nail Assessment and Prep Modifications
Encountering damaged nails requires assessment and modified preparation to avoid exacerbating existing problems whilst still providing services clients want.
Minor damage (small splits, superficial peeling):
- Gently file away loose nail material
- Avoid buffing directly over damaged areas
- Use silk or fiberglass wraps under enhancements for reinforcement
- Recommend shorter length and simpler enhancement to reduce stress
Moderate damage (significant thinning, deeper splits):
- Extremely gentle buffing or skip buffing entirely
- Use strengthening treatments before enhancement application
- Consider whether enhancements are appropriate or if a healing period is needed
- If proceeding, use minimal product and avoid aggressive filing
Severe damage (exposed nail bed, signs of infection, severe thinning):
- Refer to a healthcare provider—cosmetic services are inappropriate
- Educate client about the importance of addressing health issues first
- Document the referral and your recommendations
Never apply enhancements to infected nails, significantly damaged nail beds, or nails with unexplained discolouration. Your professional responsibility includes recognising when cosmetic services could cause harm.
Sanitation Protocols During Prep
Proper sanitation protects both you and your clients from infections and cross-contamination. Every step of nail preparation should incorporate appropriate hygiene practices.
Before each client:
- Sanitise your hands and have client sanitise theirs
- Ensure all tools are properly disinfected (metal tools) or new (disposable items)
- Wipe down your work surface with appropriate disinfectant
- Set up a clean, organised workspace with everything needed
During preparation:
- Avoid touching your face or other surfaces
- Use separate implements for each client
- Dispose of contaminated materials appropriately
- If skin is accidentally cut or broken, stop immediately, apply antiseptic, and use a plaster before continuing
After each client:
- Clean all reusable tools following proper disinfection protocols
- Dispose of single-use items immediately
- Clean work surfaces thoroughly
- Prepare fresh tools for the next client
Professional nail technicians view sanitation as integral to service quality, not an optional extra. Clients increasingly expect and appreciate visible hygiene practices.

How Proper Prep Affects Retention and Client Satisfaction
The connection between preparation quality and client retention (both product retention and client loyalty) cannot be overstated. According to customer service research, clients who experience consistent, long-lasting results become loyal advocates who refer friends and family.
Product retention: Proper preparation typically extends wear time by 30-50% compared to rushed or inadequate prep. This means clients enjoy their enhancements longer, perceive better value, and experience fewer inconvenient lifting issues.
Client satisfaction: When enhancements last as promised, clients trust your expertise and are more likely to try additional services, invest in higher-end options, and book regular appointments. Conversely, poor retention leads to negative reviews, lost clients, and damaged reputation.
Professional reputation: In the age of social media reviews, your preparation quality directly impacts your online reputation. Clients notice when their nails look beautiful not just immediately after application but throughout the entire wear period.
Business profitability: Whilst thorough preparation takes slightly more time per appointment, it dramatically reduces callbacks for repairs and early removals—work that consumes time without generating revenue. The net effect is improved profitability and schedule efficiency.
Time-Saving Efficiency Tips for Experienced Techs
Once you’ve mastered proper preparation technique, you can begin incorporating efficiency strategies that maintain quality whilst reducing service time.
Systematic workflow: Develop a consistent sequence that becomes automatic. This muscle memory reduces thinking time and prevents missed steps.
Strategic product placement: Arrange your supplies in order of use so you never search for items mid-service.
Multi-tasking appropriately: While cuticle remover is dwelling on one hand, begin assessing or shaping the other hand. Whilst dehydrator is drying, prepare your product application area.
Electric file proficiency: For experienced technicians, electric files dramatically speed up filing, shaping, and surface preparation. However, this requires proper training—improper use causes significant nail damage.
Client education: Clients who properly care for their enhancements at home need less intensive prep at each visit. Invest time in education to reduce future prep demands.
Pre-service consultation: Clear communication about the service plan prevents mid-service changes that disrupt workflow.
Never sacrifice preparation thoroughness for speed—rushing prep always costs more time in the long run through repairs and reduced retention.
Building Your Foundation for Nail Success
Mastering nail preparation transforms you from a technician who applies products to a true professional who creates lasting, beautiful results. This foundation skill supports everything else you do in nail services, from the simplest gel manicure to the most elaborate nail art.
Professional training provides the structured learning environment needed to develop these crucial skills with guidance from experienced educators. If you’re beginning your nail career or looking to refine techniques that have become habitual, comprehensive nail technology courses offer both foundational training and advanced refinement.
Remember that even the most experienced nail technicians continually refine their preparation techniques, staying current with new products and methods whilst maintaining the fundamental principles that ensure lasting results. Your commitment to proper nail preparation demonstrates respect for your clients, dedication to your craft, and the professional standards that build successful beauty careers.