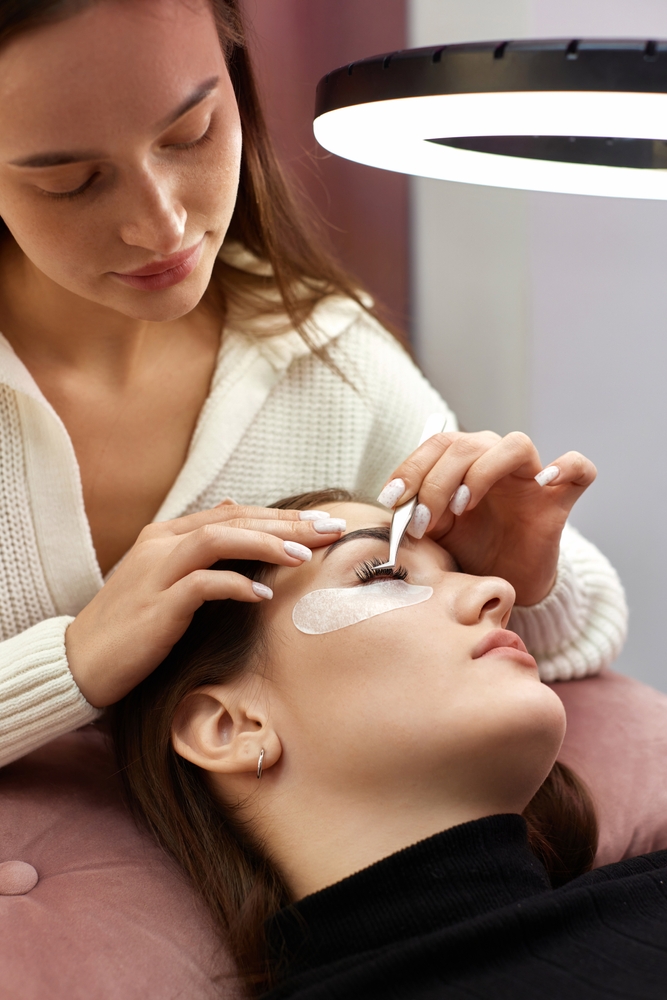
Lash mapping is the process of planning and sectioning the eye to create a customised lash design that enhances each client’s natural features. By analysing eye shape, spacing, and natural lash characteristics, technicians create a blueprint that ensures symmetrical, flattering results every time. Mastering lash mapping transforms good lash technicians into exceptional artists.
At UK Beauty School, we teach lash mapping as a fundamental skill because it’s the foundation of professional lash application. Without proper mapping, even technically perfect application can produce unflattering results that don’t suit the client’s face.
Lash mapping isn’t just about creating beautiful lashes—it’s about creating beautiful lashes that enhance each individual client. The same lash design that looks stunning on one person can look wrong on another. Understanding mapping allows you to customise every set for maximum impact.
Why Lash Mapping Matters
Ensures Symmetrical Results
Human faces aren’t perfectly symmetrical, and neither are eyes. Mapping helps you identify asymmetries and compensate for them, creating the illusion of balance. Without mapping, technicians often unconsciously apply lashes unevenly, following the natural asymmetry rather than correcting it.
Enhances Natural Eye Shape
Different eye shapes benefit from different lash styles. A design that opens and lifts one eye shape might drag down or close off another. Mapping ensures you select the right style for each client.
Creates Comfortable, Balanced Extensions
Proper mapping distributes length and weight appropriately across the lash line. Extensions that are too long at the outer corner can be heavy and uncomfortable; those that are too long near the inner corner can be irritating. Mapping prevents these issues.
Provides Consistent, Replicable Results
When you document your mapping, you can recreate successful looks at fill appointments. Clients get the same beautiful results every time, building trust and loyalty. According to lash industry experts, consistency is one of the top factors in client retention.
Step 1: Eye Shape Analysis
Before touching a lash, analyse the client’s eye characteristics:
Eye Shape
Almond Eyes: The most versatile shape—works well with most lash styles. The eye is widest in the middle, tapering at both ends with the outer corner slightly lifted. Almond eyes can carry dramatic looks or natural styles equally well.
Round Eyes: Characterised by a more circular shape with visible white above and/or below the iris. Round eyes benefit from cat eye styles that elongate and create the illusion of an almond shape. Avoid doll eye styles that emphasise roundness further.
Hooded Eyes: The crease is hidden beneath a fold of skin, making the eyelid appear smaller. Hooded eyes need strategic curl selection—stronger curls lift lashes above the hood for visibility when eyes are open. Without proper mapping, lashes can disappear under the hood.
Monolid Eyes: No visible crease, with a smooth eyelid surface. Monolid eyes are stunning with doll eye or open eye styles that emphasise the eye’s natural shape. Curl selection is crucial—D and L curls often work well.
Downturned Eyes: The outer corner sits lower than the inner corner, creating a drooping appearance. Cat eye mapping lifts the outer corner visually, counteracting the downward angle. Avoid styles that extend length at the outer corner without sufficient lift.
Upturned Eyes: The outer corner sits higher than the inner corner. Doll eye styles balance the natural lift and prevent an overly dramatic upward sweep. Some upturned eyes can carry cat eye styles, but careful assessment is needed.
Deep-Set Eyes: The eyes sit further back in the eye socket, creating shadow. These eyes benefit from curls and lengths that bring lashes forward and out of shadow. Lash lift and curl are often more important than length for deep-set eyes.
Protruding Eyes: The eyes appear to bulge or sit forward. Longer lengths and dramatic volume can emphasise protrusion, so more subtle, shorter styles often flatter better.
Eye Spacing
Close-Set Eyes: The distance between the eyes is less than one eye-width. Create balance by placing longer lashes at the outer corners and shorter lengths at inner corners. This draws attention outward and creates the illusion of wider spacing.
Wide-Set Eyes: The distance between eyes exceeds one eye-width. Emphasis on inner and middle sections brings eyes together visually. Avoid extreme cat eye styles that pull attention further outward.
Average Spacing: Follow client preference and eye shape without needing to compensate for spacing issues.
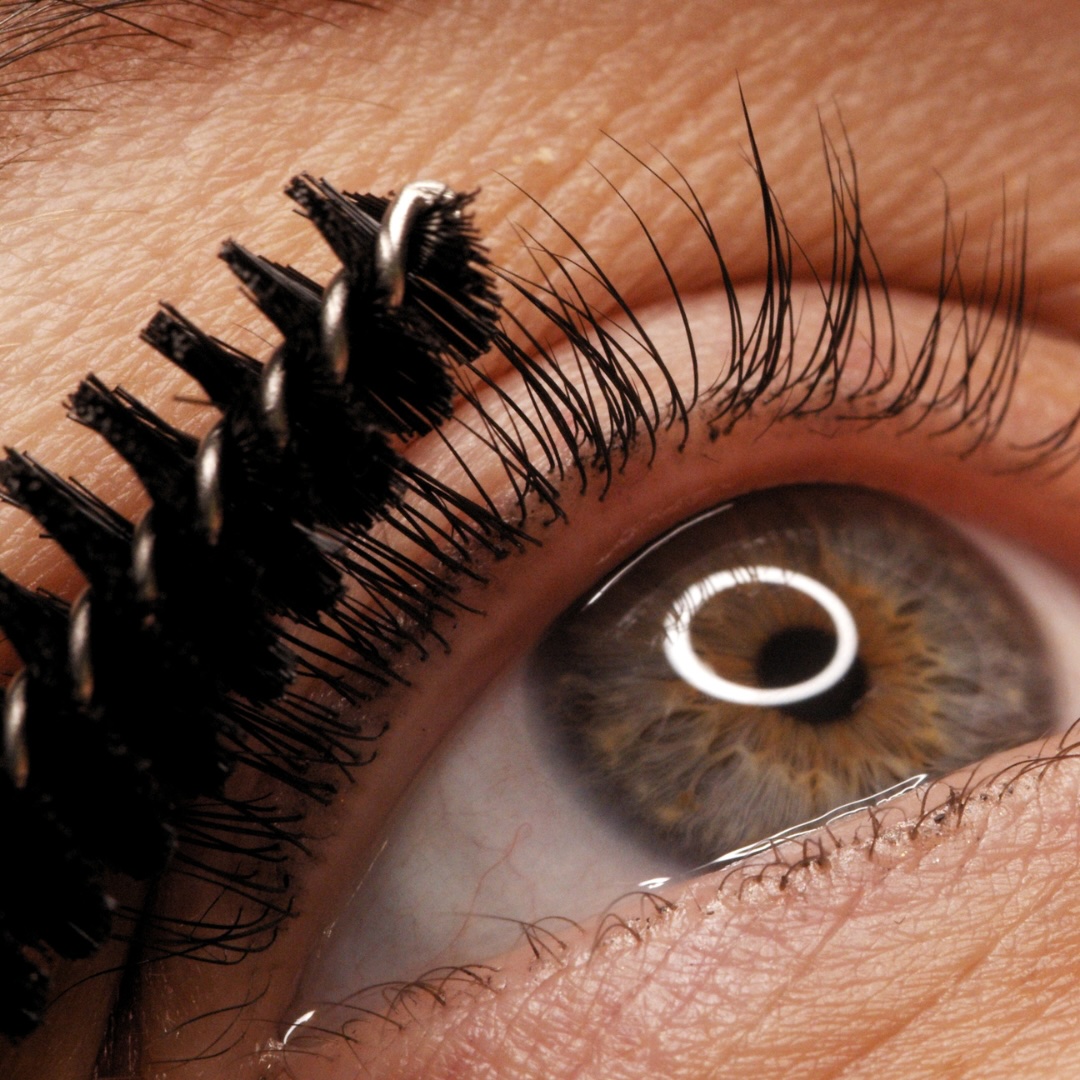
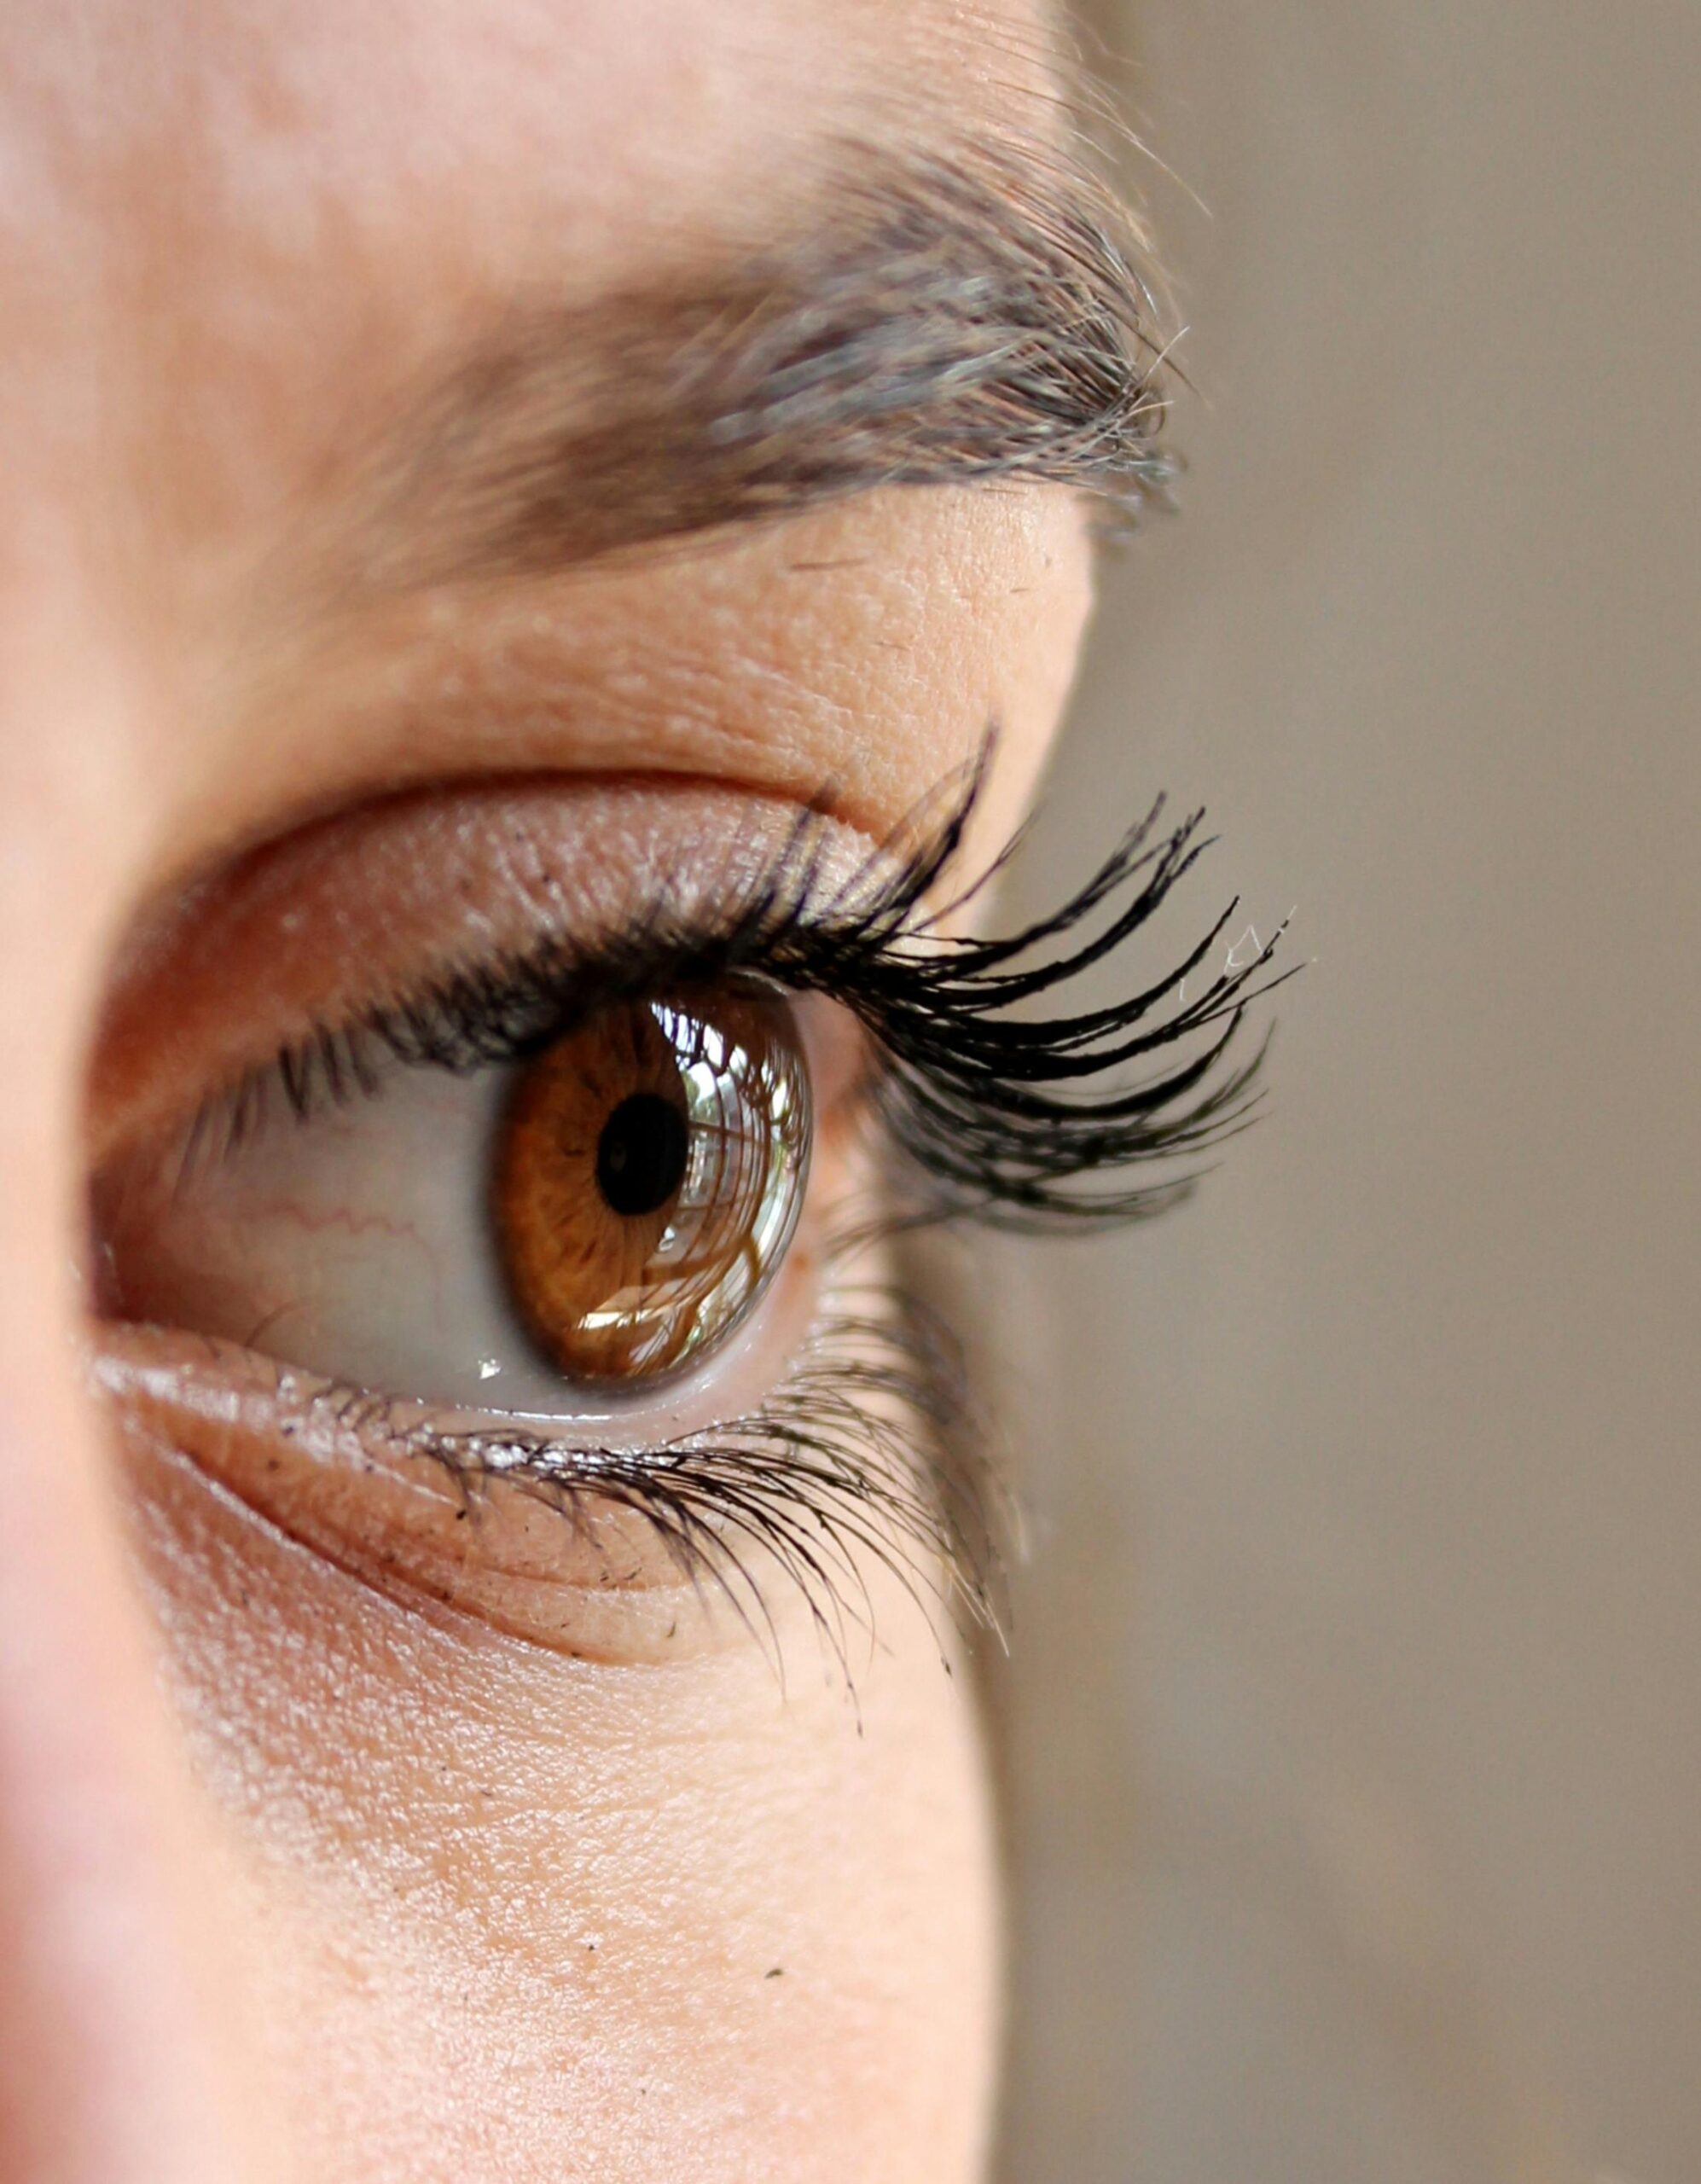
Natural Lash Assessment
Examine the client’s natural lashes for:
Length: Longer natural lashes can support longer extensions; short natural lashes require proportionate extensions.
Density: Sparse natural lashes may need volume techniques; full natural lashes work beautifully with classic.
Thickness: Fine natural lashes can only support lightweight extensions; thick natural lashes can carry more weight.
Growth Direction: Some natural lashes grow downward, straight, or at angles. This affects curl selection and placement.
Health: Damaged, brittle, or over-processed natural lashes may need lighter applications or rest before extensions.
Never apply extensions exceeding what natural lashes can support. Mapping must account for natural lash limitations.
Step 2: Choose a Style
Doll Eye (Open Eye)
Longest lengths are placed in the centre of the eye, with shorter lengths graduating toward both corners. This style opens and brightens the eyes, creating a wide-eyed, youthful look.
Best for: Round eyes that need softening, wide-set eyes, monolid eyes, and clients wanting an innocent, open-eyed appearance.
Avoid for: Hooded eyes (centre length may disappear under the hood) and downturned eyes (doesn’t provide enough lift).
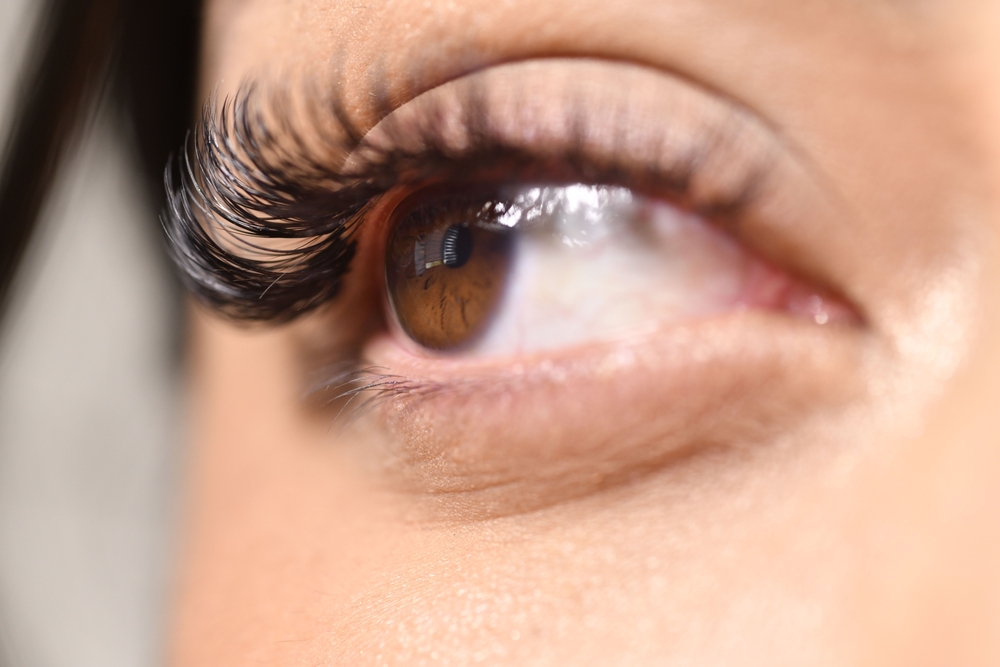
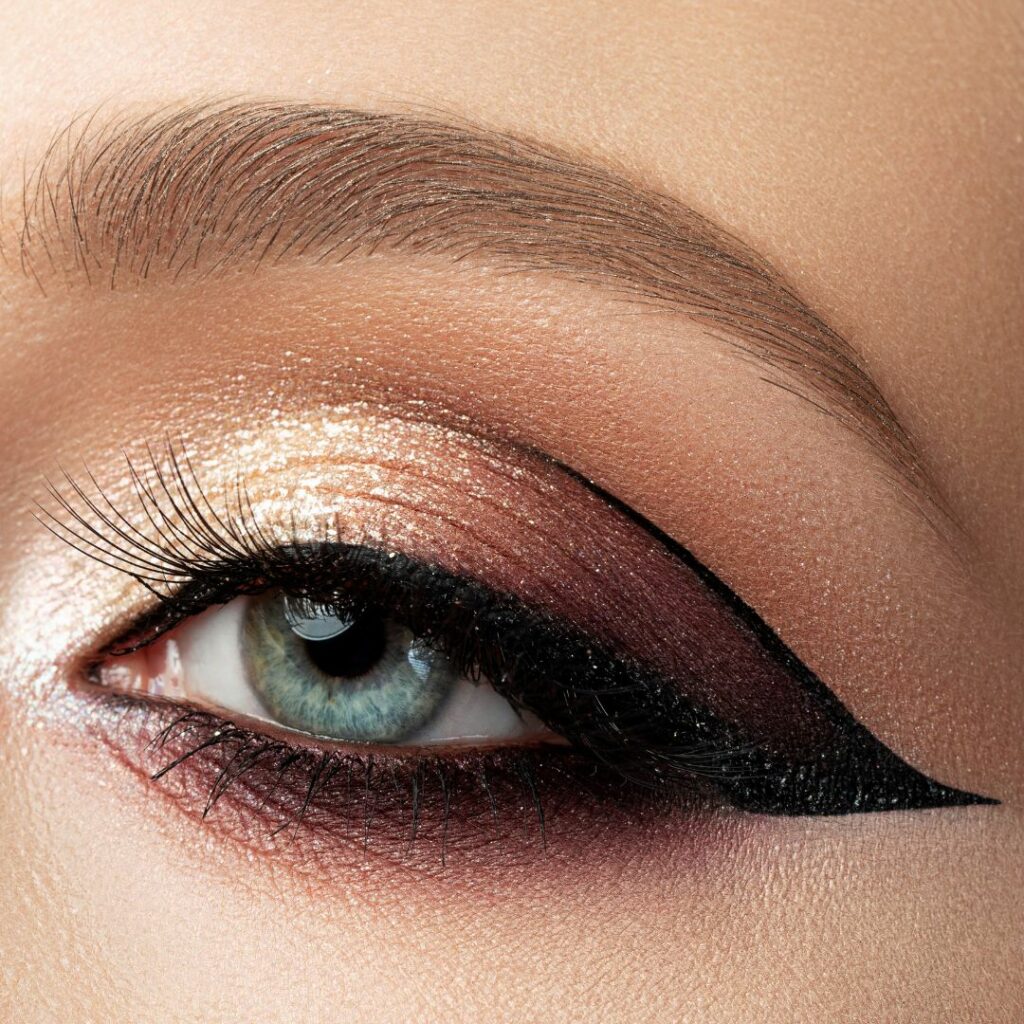
Cat Eye (Feline)
Lengths gradually increase from inner corner to outer corner, with the longest lashes at the outer edge. This creates a lifted, elongated effect that’s sultry and sophisticated.
Best for: Round eyes needing elongation, downturned eyes needing lift, almond eyes, and clients wanting a glamorous, dramatic look.
Avoid for: Close-set eyes (pulls attention further outward), excessively upturned eyes, and clients wanting a natural look.
Natural (Classic Eye)
Follows the natural lash pattern with even distribution and modest length variation. This style provides subtle enhancement that’s often undetectable as extensions.
Best for: Clients wanting enhancement without obvious extensions, professional settings requiring subtle looks, first-time extension clients, and most eye shapes.
Squirrel Eye
Similar to cat eye but with length emphasis in the middle-outer section rather than at the extreme outer corner. This creates a soft lift without the dramatic outer point of a cat eye.
Best for: Downturned eyes needing lift without dramatic cat eye, close-set eyes, and clients wanting subtle elongation.
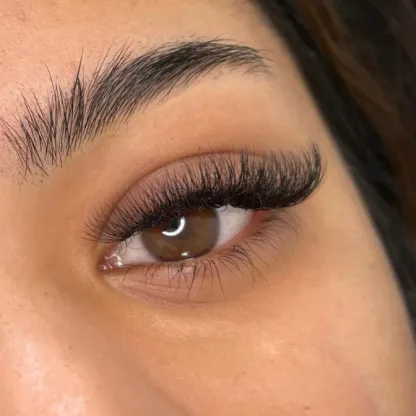
Kim K (Wispy)
Features varied lengths throughout, often mixing shorter and longer lashes for a textured, spiky effect. This is popular for the “spiky,” unstructured look seen on social media.
Best for: Clients wanting a trendy, editorial look and those who want volume with visible texture.
Step 3: Create Your Map
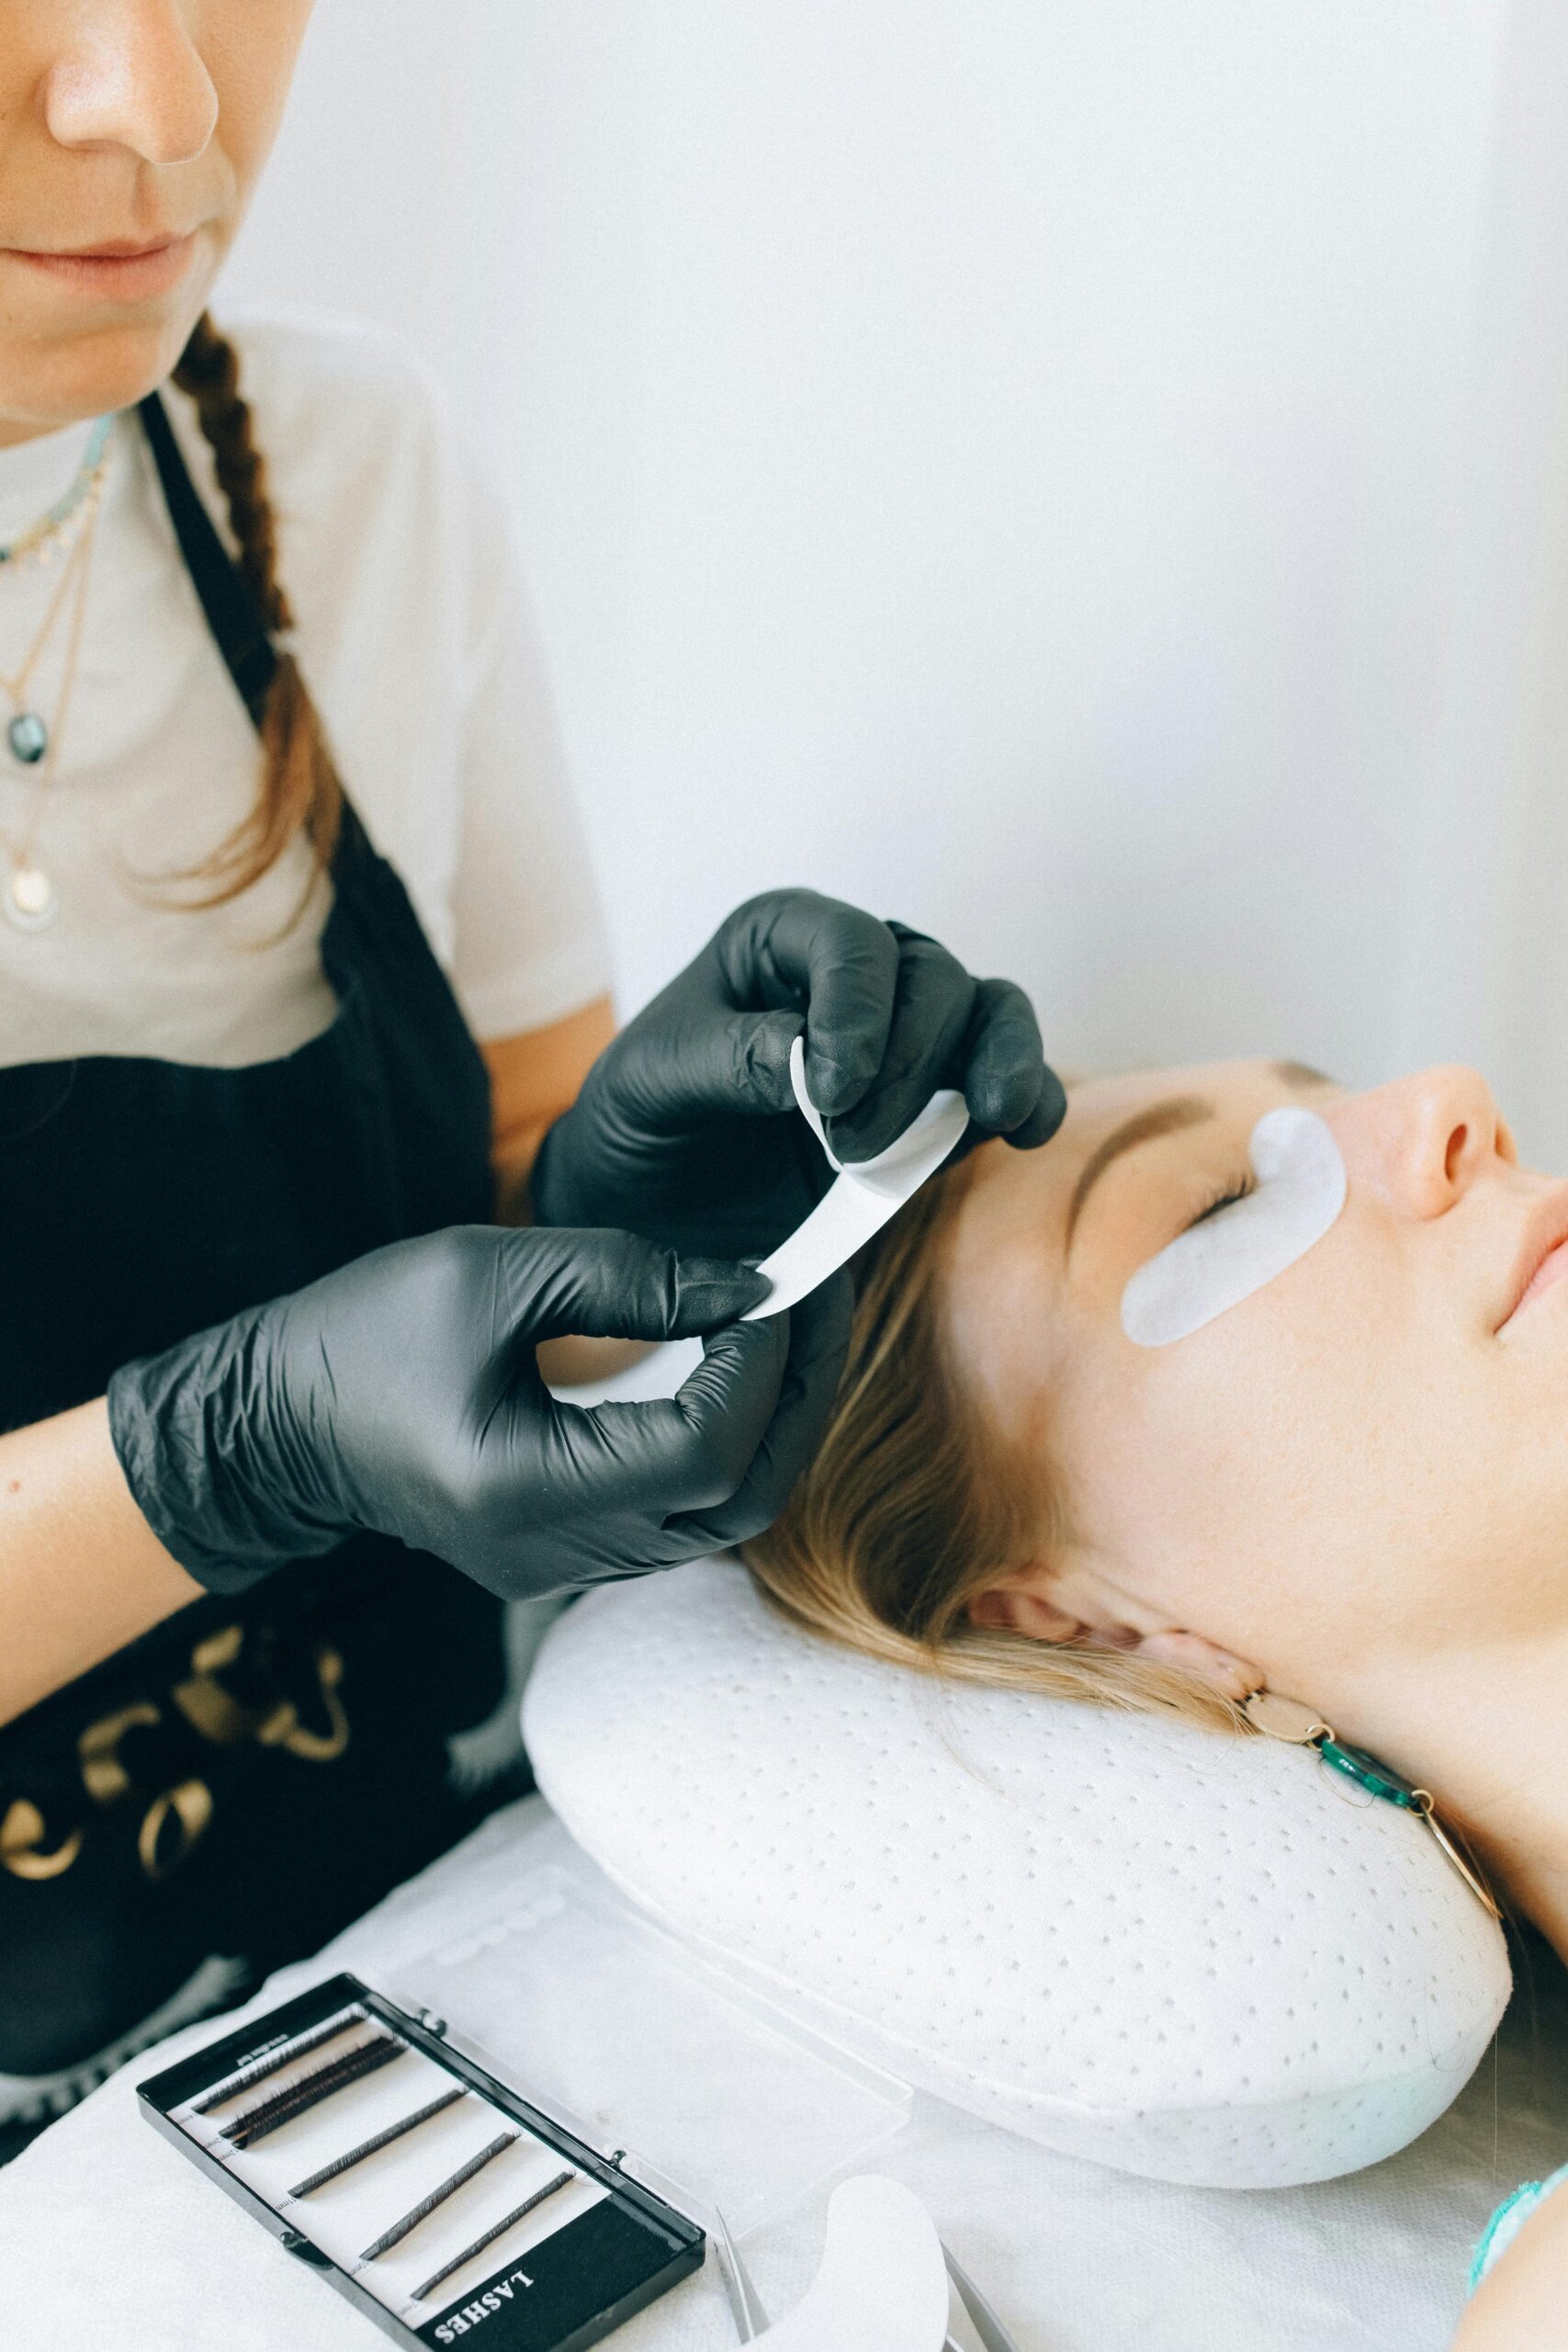
Tools Needed
Lash mapping stickers or paper tape work well for marking. A fine-tip marker or eyeliner pencil marks transition points. A ruler or pre-printed mapping guide ensures consistent spacing. Reference photos help communicate with clients and document successful looks.
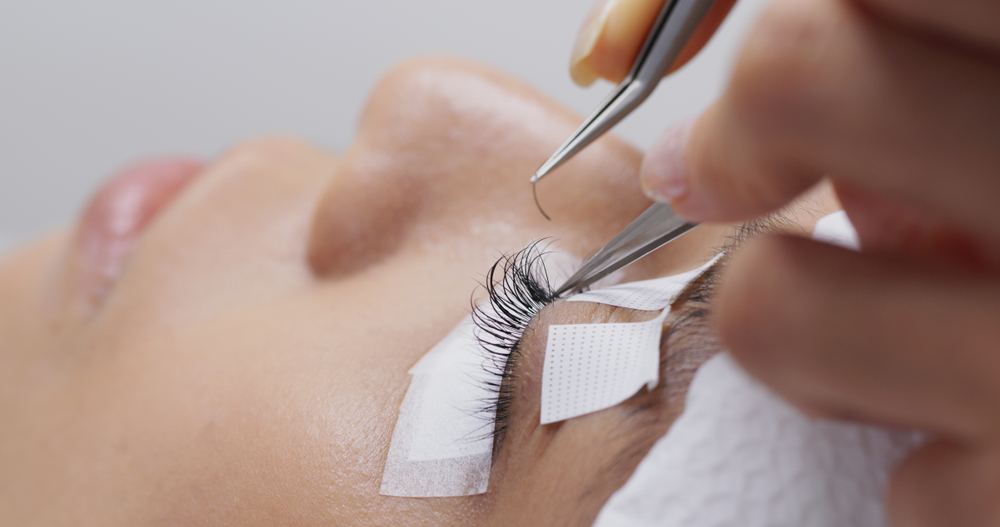
The Mapping Process
Divide the lash line into 3-5 sections. Most technicians use 4-5 sections for detailed control. Mark the boundaries of each section on the under-eye pad or mapping tape.
Mark transition points where length changes occur. These boundaries guide your application and ensure smooth, gradual transitions rather than abrupt length changes.
Note specific lengths for each section. Write directly on the mapping tape so you don’t need to remember—”10, 11, 12, 13, 12″ for example.
Document curl types if you’re varying curl across the lash line. Some designs use stronger curls in certain areas for lifting effects.
Check symmetry by comparing both eyes before beginning application. Your maps should mirror each other.
Common Mapping Mistakes to Avoid
Ignoring Natural Lash Growth: Always map based on real lash direction and density. If one section has sparse natural lashes, your design must accommodate this rather than placing heavy extensions there.
Incorrect Curl or Length Selection: Match curls to the eye shape needs and natural lash lift. A D curl on naturally downward-pointing lashes creates dramatic lift; on naturally curly lashes, it may look overdone.
Inconsistent Sectioning: Eyeballing sections leads to uneven results. Use a ruler or pre-drawn mapping pads to ensure identical sectioning on both eyes.
Skipping Eye Shape Analysis: Rushing into application without proper analysis leads to unflattering results. Take time to study each client’s unique features.
Not Documenting Maps: When clients return for fills wanting “the same as last time,” you need records of what you applied.
Building Your Mapping Expertise
Lash mapping transforms technically competent technicians into artists who create customised, flattering results for every client. This skill takes practice, study, and feedback to develop fully.
Our Certificate in Eyelash Extensions covers lash mapping comprehensively, including eye shape analysis, style selection, and practical mapping exercises. Combined with technical application skills, mapping expertise sets you apart in a competitive market.
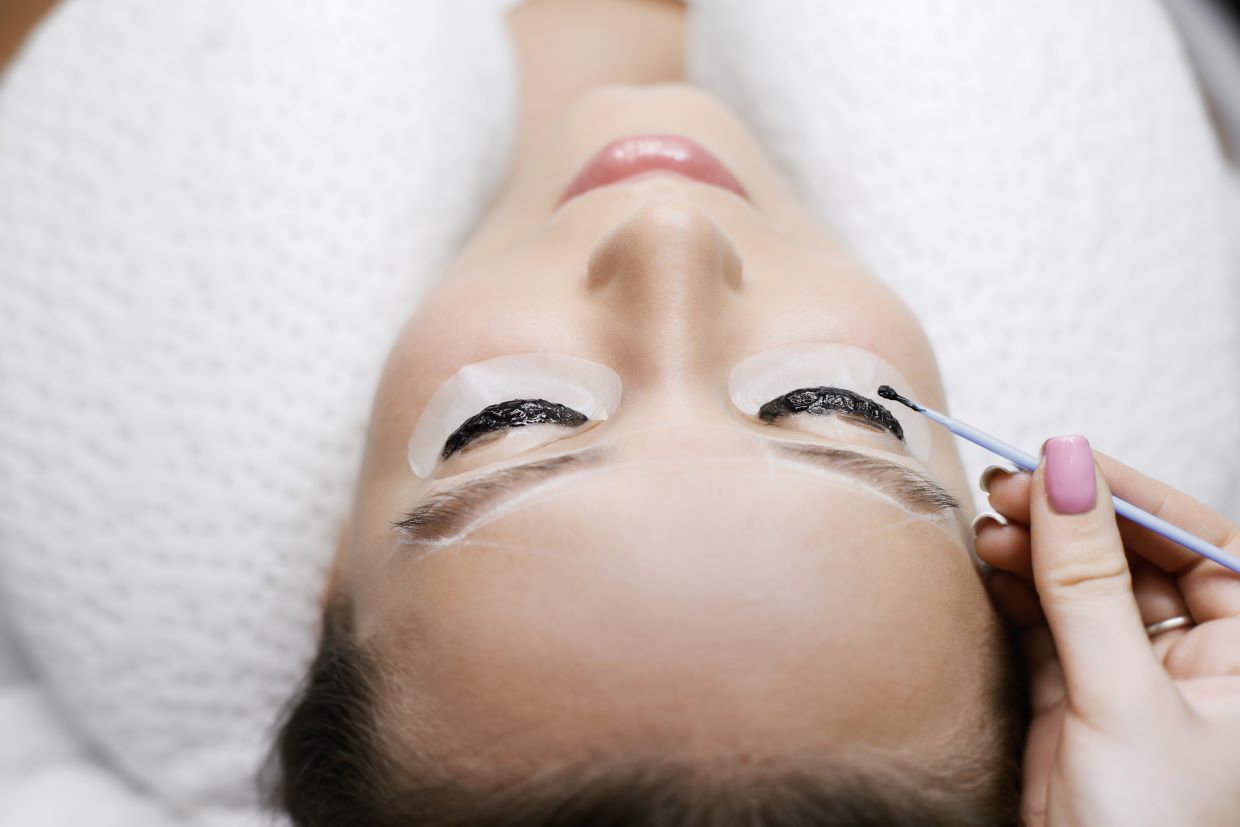
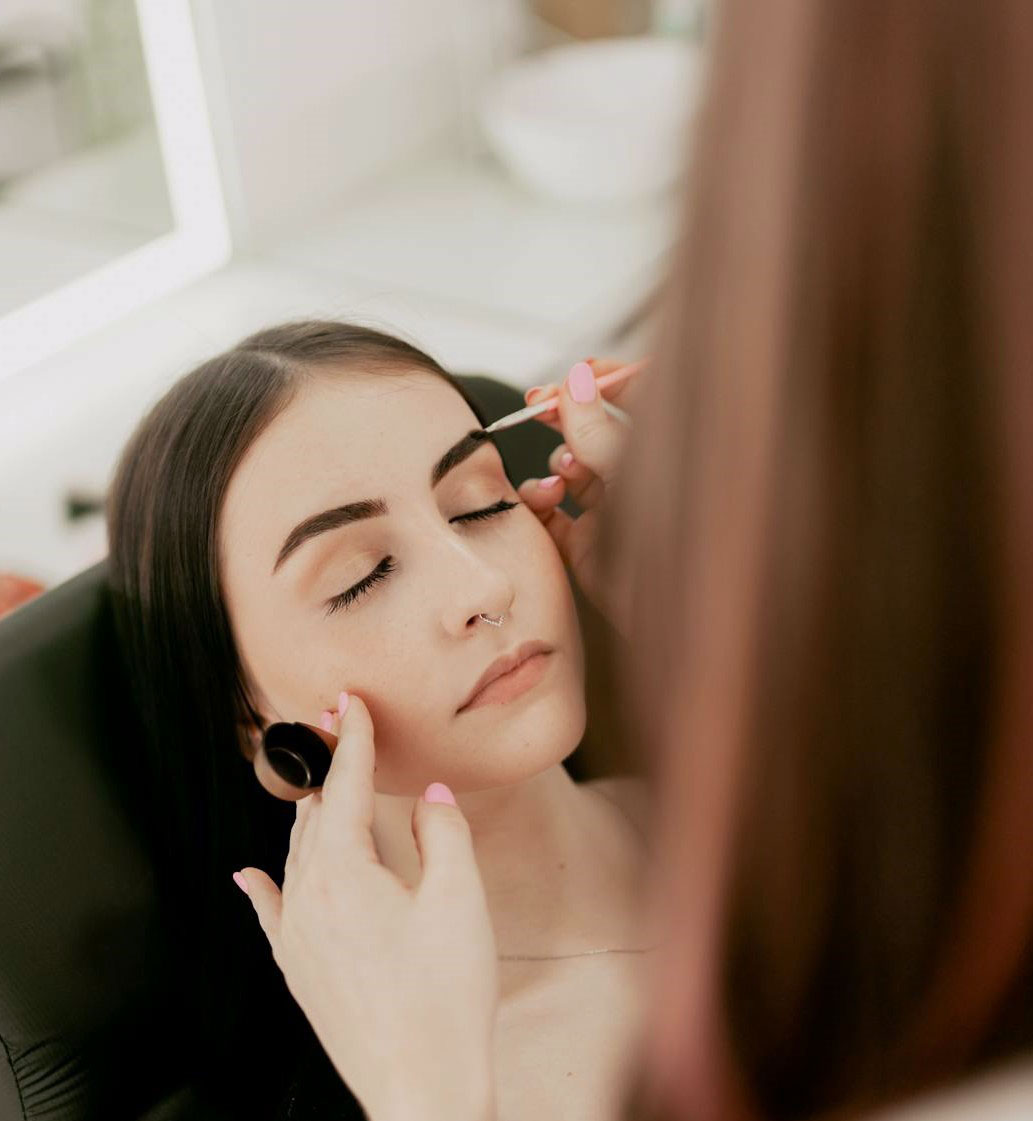
For technicians wanting to expand beyond extensions, our Certificate in Eyelash Lift and Tint teaches mapping principles applied to natural lash enhancement—understanding eye shapes benefits all lash services.
Ready to create customised lash looks that clients love? Our Certificate in Eyelash Extensions teaches lash mapping alongside technical application skills, giving you the complete toolkit for professional lash artistry. Learn to analyse eye shapes, select flattering styles, and deliver results that photograph beautifully and keep clients booking with you. Begin your lash mapping journey today and become the lash artist everyone wants to book.